How to Sew a Button by Hand: Flat and Shank Buttons

Quick answer: Knot a doubled 24 in thread, stitch through the holes over a pin or toothpick so the thread has slack, then take the spacer out, wind the thread under the button to make a short shank, and knot at the back.

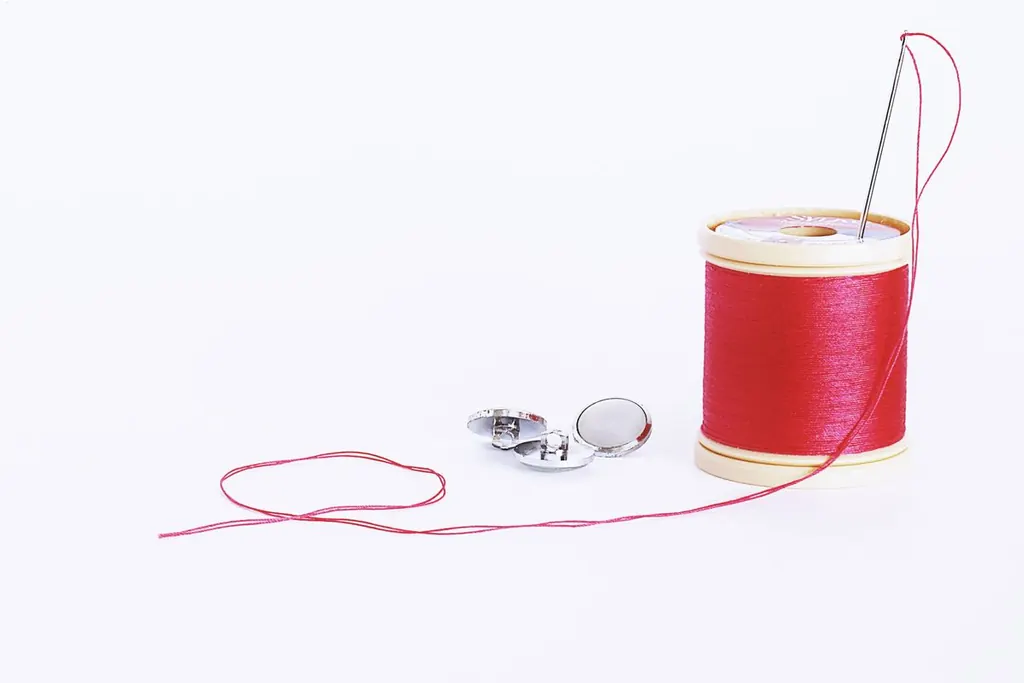
A spool of red thread with a needle and two buttons on a white surface
Photo: Suzy Hazelwood on Pexels

Sewing gear on Amazon

Sponsored

As an Amazon Associate, Sewing Insider earns from qualifying purchases. See our affiliate disclosure.

Prices and availability were accurate when retrieved from Amazon and may change. Retrieved Nov 18, 2026.

Sew on a flat button in six steps

A button that sits tight against the fabric cannot close, because the buttonhole has nothing to slide over. The cure is a little slack under the button, called a thread shank. A pin or toothpick laid across the top of the button while you stitch makes that slack for you.

  1. Thread and knot

    Cut about 24 in of thread, fold it so you sew with a double strand, and knot the two ends together. Trim the tail short.

  2. Mark and anchor

    Mark the spot with chalk. Come up from the wrong side so the knot is hidden under the button.

  3. Lay the spacer

    Put a straight pin or toothpick across the middle of the button, then stitch through the holes over it.

  4. Stitch through the holes

    Go through one hole and out the opposite one several times. On a 4-hole button, sew diagonally to make an X, then repeat for the other pair.

  5. Make the shank

    Take the spacer out and pull the button up. Come up under the button and wind the thread round the stitches several times.

  6. Knot at the back

    Take the thread to the back, pass through a few stitches to form a loop, pull it tight, and trim the tail short.

1 stitch over a toothpick2 remove, wind threadtoothpickthread shank
The spacer makes the slack; the winding turns it into a shank.

Flat button or shank button

Flat buttons have two or four holes and are sewn with a shank you make yourself. A shank button has a loop on the back that already lifts it off the fabric, so no spacer is needed: you pass the thread through the loop four or five times, as Sew4Home: how to sew on a button puts it, and knot off.

ButtonSpacerHow you stitchThread shank
2-hole flatPin or toothpickThrough both holes, several passesWind under the button
4-hole flatPin or toothpickTwo holes at a time, parallel or an XWind under the button
Shank (loop on the back)NoneThrough the loop four or five timesAlready built in

Steps: Sew4Home: how to sew on a button (single source). The page gives no exact stitch count for flat buttons; make enough to feel firm.

Thread, shank length and where to sew

Use a strong thread; a doubled thread is stronger still. iFixit says the ideal shank is the same height as the thickness of the fabric around the buttonhole, so a shirt needs very little and a coat needs more. Test the button in its buttonhole before you knot off.

To place a button, close the garment, put a pin through the middle of the buttonhole and mark where it lands on the other side. For a horizontal buttonhole, the button goes at the end of the hole that takes the strain. If the button is the wrong size for the buttonhole, check the button size chart, which also shows how long to make a buttonhole.

Common problems

ProblemLikely causeFix
Button will not go through the holeNo shank, or the shank is too shortCut the thread, re-sew over a thicker spacer
Button wobblesToo few stitches or thread too thinRe-sew with doubled strong thread
Knot shows on the frontStarted from the right sideStart from the wrong side, under the button
Thread keeps snappingAll-purpose thread on a heavy fabricSwitch to button or topstitching thread

Our own suggestions, not a sourced chart.

Once buttons are on, a machine buttonhole is the next step, and the hem guide covers the other job people reach for a needle to do.

Frequently asked questions

What is the easiest way to sew on a button?

Use a doubled thread, lay a toothpick or pin across the top of the button, stitch through the holes several times, then remove the spacer and wind the thread under the button before knotting.

How many stitches does a button need?

Sew4Home gives no fixed number; it says to repeat "several times". Make enough passes that the button feels firm, and use more on a coat than a blouse.

Why make a thread shank?

The shank lifts the button off the fabric so the buttonhole can slide over it. Without one the button sits flat and the closure strains.

How do you sew a shank button?

Pass the thread through the loop on the back four or five times, tilting the button for access, then knot and trim. No spacer is needed.

What we checked, and where

Show what we checked and the sources
What we stateSource and status
24 in doubled thread, spacer, wind a shank, knot at the backSingle source (Sew4Home).
Shank button: four or five passesSame page.
Shank length equals the fabric thickness around the buttonholeiFixit sewing-a-button-onto-heavy-fabric guide, read 2026-11-18 (single source).

Date checked: November 17, 2026. A claim with one readable source is labelled single source; formulas are computed.

This article reflects independent editorial research and disclosed buying criteria, not hands-on testing. Sewing machines vary by model, so always check your machine's manual for exact setup, threading, and safety guidance. This is not professional repair, electrical, or safety advice. Some links on this page are Amazon Associates affiliate links; see our affiliate disclosure.