Overview
Zippers intimidate a lot of beginners more than the technique actually deserves. This tutorial covers a centered zipper installation, the most beginner-friendly zipper method, where both sides of fabric meet evenly over the zipper with straight topstitching visible on either side.
Once you're comfortable with a centered zipper, other zipper techniques -- like invisible or lapped zippers -- build on the same core skills of basting, understitching, and controlled topstitching. Practice this method on scrap fabric with a spare zipper before installing one in a real project.
What you'll need
You'll need a zipper cut or sized appropriately for your opening, a zipper foot for your machine (a narrower foot that lets the needle stitch close to the zipper teeth without hitting them), fabric with the opening already cut, and your regular sewing supplies including pins or clips and a seam ripper for corrections.
Check that your zipper foot is compatible with your machine before starting -- most machines use a snap-on or screw-on zipper foot specific to that machine's brand and shank type. See our tools and supplies hub for more on presser feet.
Preparing the zipper opening
Start with your zipper opening seam sewn and pressed open, with the opening for the zipper still unstitched (a plain seam allowance on each side, not yet joined at the zipper section). Press both seam allowances open flat along the entire seam, including the zipper opening area.
Close the zipper and center it face-down over the pressed-open seam allowance from the wrong side, with the zipper teeth running along the seam line and the pull tab positioned at the top of the opening. Pin or clip the zipper in place, keeping it centered evenly on both sides of the seam.
Basting the zipper in place
Baste (sew with a long, temporary stitch length) the zipper to the seam allowance only, close to the zipper's edge, working from the right side isn't necessary yet -- this basting pass is typically done from the wrong side, stitching through the seam allowance and zipper tape only, not through to the visible fabric front.
This basting step holds the zipper securely in place for the final topstitching and makes it much easier to catch and fix any misalignment before it's permanent. If the zipper shifts or puckers during basting, it's much faster to unpick a long basting stitch than a short, tight topstitch.
Once basted, open the seam from the right side and check that the zipper is even and lying flat before moving to topstitching. Adjust and re-baste now if anything looks off-center.
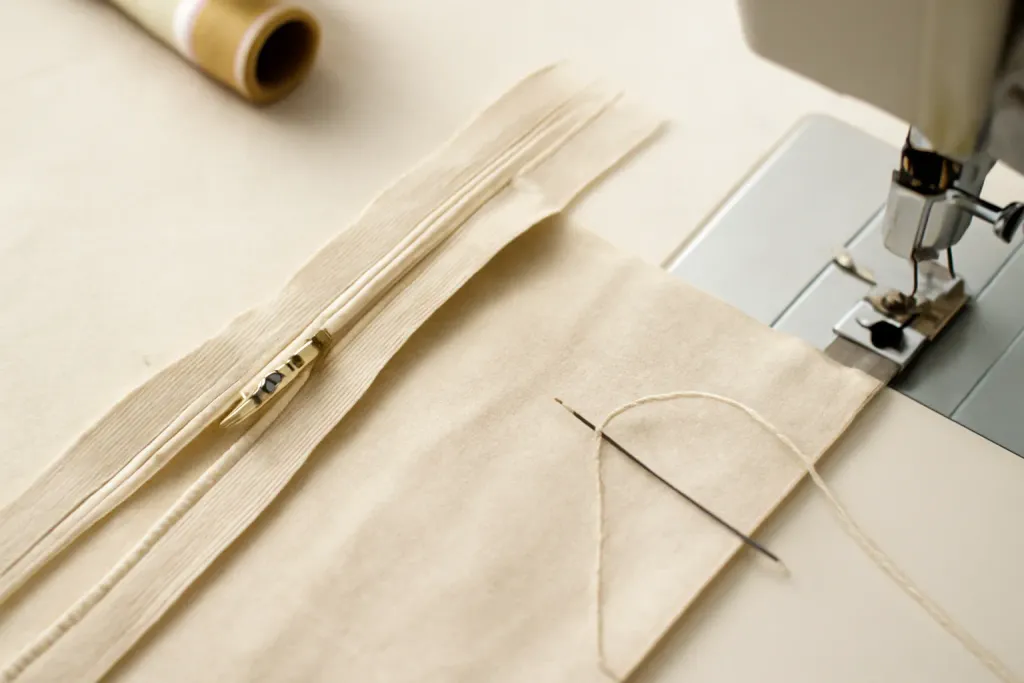
Topstitching the zipper
Switch to a standard stitch length and, working from the right side of the fabric, topstitch around the zipper in a rectangle shape: starting at the bottom, up one side close to the zipper teeth, pivoting at the top near the zipper pull, across the top, pivoting again, and down the other side.
Use your zipper foot's edge as a stitching guide to keep both sides of topstitching evenly spaced from the zipper teeth, aiming for consistent distance on both the left and right sides for a symmetrical, professional-looking finish. Sew slowly through the thicker layers near the top and bottom of the zipper, where the zipper tape and fabric overlap most.
Once topstitching is complete, remove the basting stitches (they're no longer needed and can pull out easily since they were a longer stitch length) and give the whole zipper area a final press from the right side, avoiding direct heat on the zipper teeth if they're a heat-sensitive material like plastic.
Browse our recommended products
Our featured picks refresh periodically. While we update them, our editorial guides can help you find the right pick.
See our guidesCommon mistakes and fixes
Uneven topstitching distance from the zipper teeth is the most common cosmetic issue, usually caused by not using the zipper foot's edge as a consistent guide. If this happens, it's often easiest to unpick and re-stitch that side rather than trying to correct it with a second stitching line.
A zipper that catches or won't slide smoothly after installation is often caused by stitching too close to the teeth, catching the zipper pull's fabric guard, or fabric bunching underneath during stitching. Check for stray threads or fabric caught in the zipper track before assuming the zipper itself is defective.
Puckering along the zipper is frequently caused by pulling fabric while sewing rather than letting the feed dogs move it, or by skipping the basting step and having the zipper shift during topstitching. Basting first, even though it adds a step, prevents most of this.
A visible gap where the two fabric edges don't quite meet evenly over the zipper is usually a centering problem from the basting stage rather than something that can be fixed at the topstitching stage. If you notice this while checking your basted zipper from the right side, it's worth unpicking and re-centering before you commit to final topstitching, since it's much harder to correct afterward.
Other zipper styles, briefly
Once a centered zipper feels comfortable, an invisible zipper is a common next technique, using a special invisible zipper foot to hide the zipper coil inside the seam so only a thin seam line shows from the outside. The core skills -- careful pressing, basting, and controlled stitching close to the zipper -- carry over directly.
A lapped zipper, common on skirts and dresses, has one side of fabric overlapping the other so only a single line of topstitching is visible, rather than the symmetrical rectangle used in a centered installation. It requires slightly more precise basting to keep the overlap even, but again builds on the same fundamentals covered in this tutorial.
A fly-front zipper, typical on jeans and trousers, adds a curved fly shield and a bar tack at the base for reinforcement, making it one of the more involved zipper techniques. It's worth attempting only once a centered or lapped zipper feels comfortable, since it combines several steps at once.
Practicing before a real project
Keep a folded scrap of fabric and a spare or old zipper specifically for practice, separate from any zipper you intend to use in a real project. This removes the pressure of "wasting" good fabric or a good zipper while you're still building the muscle memory for basting and topstitching evenly.
Practice sewing a full centered zipper installation at least twice on scrap fabric before your first real attempt, timing yourself loosely so you get a sense of how long the process actually takes. Rushing a zipper on a real project because you underestimated the time is a common source of avoidable mistakes.
It can also help to keep your practice piece afterward as a reference, rather than discarding it. Comparing a new attempt against an earlier practice piece makes it easier to notice concrete improvement, which is more motivating than judging each attempt in isolation.
If you don't have a spare zipper on hand, a short length cut from an old garment you're not planning to keep works fine for practice, since you're focused on the basting and topstitching technique rather than the zipper's function at this stage.
Final thoughts
A centered zipper is the most approachable zipper technique to start with, and the basting-then-topstitching process transfers directly to other zipper styles as you gain confidence. Practice on scrap fabric with a spare zipper until the process feels comfortable before committing to a real project.
See our hemming jeans at home guide for another approachable technique, and our sewing techniques hub for more on seams and finishing methods.