Overview
Hemming jeans at home is one of the most practical beginner alterations, since it solves a problem almost everyone runs into -- jeans that are slightly too long -- with a technique that's more about patience than advanced skill. This guide covers the standard shortened hem and a method for preserving the original factory hem look.
Denim is thicker than most beginner projects, so plan on sewing more slowly than usual and expect the thickest point (where the side seams overlap) to take a bit of extra care.
What you'll need
You'll need the jeans you're hemming, a measuring tape, fabric chalk or a fabric marking pen, pins or clips, matching or contrasting topstitching thread (jeans are often topstitched in a visible color, commonly gold or tan), a denim needle, and sharp fabric shears or a seam ripper if you're removing the original hem.
A walking foot, if your machine has one available, can help feed thick denim layers evenly, though it isn't strictly required for a single hem. See our needle guide for more on choosing a denim needle.
Measuring and marking length
Put the jeans on with the shoes you plan to wear them with, and have someone help you pin or mark the desired finished length at several points around each leg, since hems that look level standing still can look uneven once you're walking.
Take the jeans off and measure from the marked line to the current raw or finished edge at several points around the leg -- this distance is your total amount to remove, and it should be consistent all the way around unless you intentionally want an angled hem.
Double-check both legs are marked to the same finished length by measuring from the crotch seam to your marked line on each leg, since even a small marking error becomes noticeable once both legs are compared side by side.
The standard hem method
Decide your seam allowance for the new hem (commonly around half an inch to five-eighths of an inch) and add that to your desired finished length before cutting off the excess fabric evenly around each leg, using your marked line as reference.
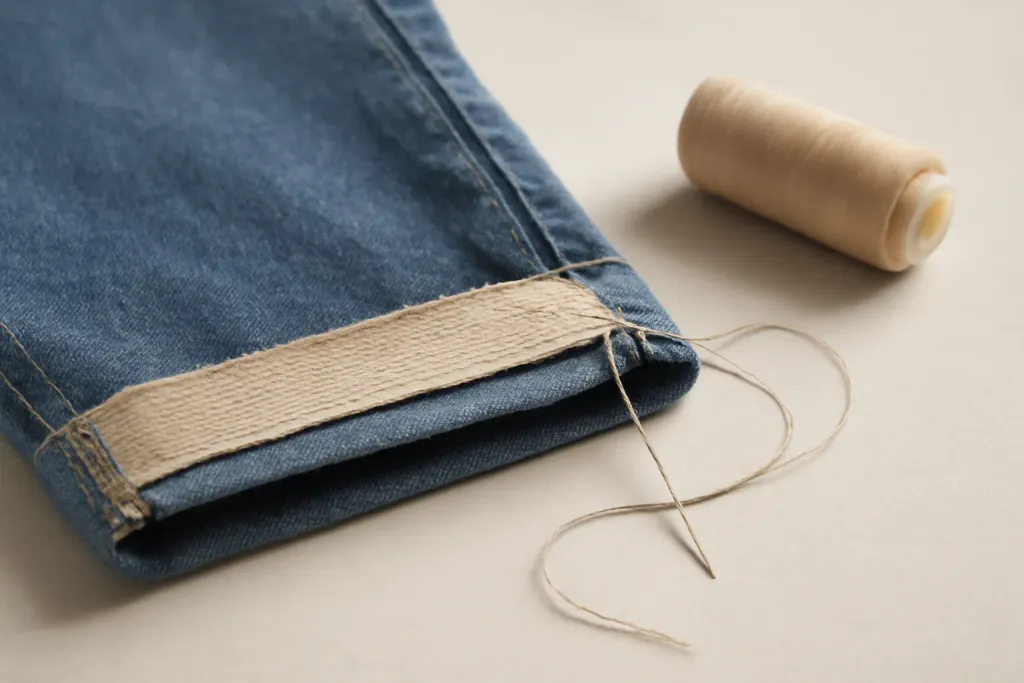
Fold the raw edge under about a quarter inch and press, then fold again by your seam allowance amount and press once more, so the raw edge is fully enclosed inside the fold. Pin or clip the folded hem in place around the entire leg opening.
Topstitch close to the top folded edge, working slowly and evenly, all the way around each leg. Many jeans use a double line of topstitching for a more finished, closer-to-original look -- sew a second line roughly a quarter inch below the first if you want to match that style.
Keeping the original hem look
If you want to preserve the jeans' original finished hem (including any fading or factory topstitching detail) rather than creating a new one, use this alternate method: fold the excess length up and inside the leg, rather than cutting it off, so the original hem stays intact but hidden inside a new fold.
Measure and mark your desired length the same way as above, then fold the extra fabric to the inside of the leg at that point, pin in place, and topstitch close to the new fold line from the outside, catching the folded layer underneath. This creates a new visible hem line while keeping the original hem tucked up inside, which some people prefer for a factory-authentic look.
This method adds some bulk inside the leg from the folded original hem, which is worth considering if you're shortening the jeans by a large amount, since the extra fabric has to go somewhere.
Browse our recommended products
Our featured picks refresh periodically. While we update them, our editorial guides can help you find the right pick.
See our guidesTips for sewing through thick denim
The side-seam intersections, where multiple denim layers stack together, are the thickest point of any jeans hem and the most likely place for a machine to struggle or a needle to break. Approach these points slowly, using the handwheel by hand if needed to get through the thickest layers.
A "hump jumper" or a folded scrap of fabric placed behind the presser foot at a thick seam intersection can help keep the foot level as it crosses the bump, preventing skipped stitches right at that point. If your machine has an adjustable presser foot pressure, a firmer pressure setting can also help feed thick denim more evenly.
Use a denim needle sized appropriately for the fabric weight, and don't force fabric through if the machine seems to be struggling -- stop, check your needle and threading, and proceed slowly rather than risking a bent or broken needle.
Matching thread and topstitching style
Most jeans use a heavier topstitching thread than standard construction thread, in a visible color like gold, tan, or orange, specifically so the topstitching reads as a design detail rather than disappearing into the denim. If you want your new hem to blend with the original stitching, look for a topstitching or jeans thread close to the original color rather than a standard all-purpose thread.
If matching the exact original thread color isn't important to you, a contrasting color can also look intentional and clean, especially on jeans where the topstitching is already a visible design feature elsewhere on the garment. There's no requirement to match exactly -- it's a style choice as much as a technical one.
Consider loosening your machine's presser foot pressure slightly or lengthening your stitch slightly when using a heavier topstitching thread, since thicker thread can behave differently than the finer thread your machine's default settings assume.
Cropped and cuffed alternatives
If you're not sure exactly how short you want the finished jeans, consider a cuffed hem as a temporary or adjustable alternative to a permanent cut-and-sew hem. Simply folding the excess length up and pressing a crease, without cutting or sewing anything permanent, lets you live with a length for a few wears before committing.
A raw-edge cropped hem is another option some people prefer stylistically -- cutting the jeans to length and leaving the raw edge unfinished, or lightly fraying it by hand. This skips the sewing step entirely but isn't as durable over repeated washing as a stitched hem, and it only works well on fabric that doesn't unravel excessively.
Whichever approach you choose, keep the fabric you trim off in case you change your mind about the length later or want fabric scraps for a smaller project, like the scrunchie project in our beginner projects guide.
If you're hemming more than one pair of jeans in the same session, work through them one at a time rather than cutting all the excess fabric off every pair before sewing any of them. This way, if your first hem reveals a measurement or technique adjustment you want to make, you haven't already committed to the same approach on every other pair.
It's also worth hemming a less important pair of jeans first if you have one, purely for practice, before moving on to a favorite pair. The measuring and thick-seam sewing skills transfer directly, and a low-stakes first attempt takes some of the pressure off.
Final thoughts
Hemming jeans is a genuinely achievable home alteration once you've measured carefully and are prepared to sew slowly through the thicker sections. Take your time at the measuring stage especially, since that's the step most likely to affect how the finished hem actually looks.
See our zipper tutorial for another approachable technique, and our sewing techniques hub for more garment-construction guides.