What Wavy Seams Look Like
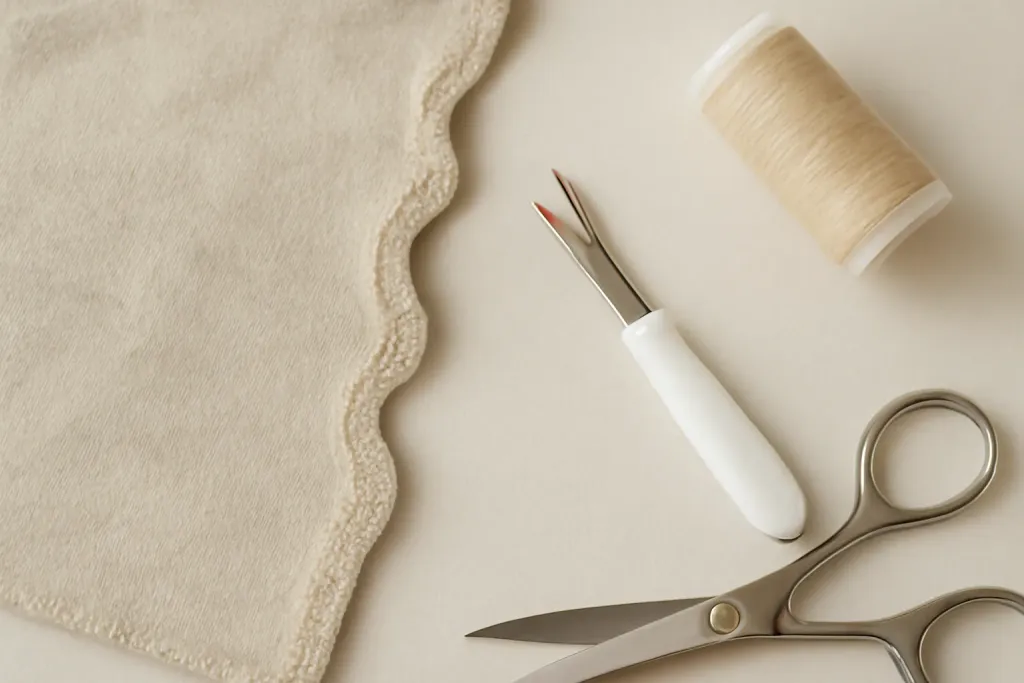
Wavy seams on knit fabric are a common beginner frustration. Instead of lying flat, the seam may ripple, stretch out, or look slightly lettuce-edged after stitching. Sometimes the fabric still fits, but the seam line looks uneven and unfinished. Other times, the problem shows up right away as the fabric buckles while you sew.
If you are trying to improve your results, it helps to remember that knit fabric behaves differently from woven fabric. Knits stretch, recover, and shift as you feed them through the machine. That means the same settings that work on cotton poplin may create distortion on jersey, rib knit, or ponte. Learning the causes is the fastest way to start fixing wavy seams on knit fabrics causes and fixes in a practical, stress-free way.
The good news is that most wavy seams are not a sign that you are doing everything wrong. They usually come from a handful of manageable issues: too much tension, too much presser foot pressure, an overly stretched seam, or a needle and stitch setup that is not suited to knits. Small adjustments can make a big difference.
Why Knit Fabric Goes Wavy
Knit fabric has loops, not the tightly crossed threads found in woven fabric. Those loops give knits stretch, but they also make the fabric easier to distort. When the machine feeds the fabric unevenly, the seam can grow longer than the surrounding fabric. The result is a rippled edge that will not lie flat, especially after pressing.
One major cause is stretching the fabric while sewing. Even a light pull from the front or back of the machine can lengthen the seam. Another cause is the feed dogs and presser foot working at different rates on a slippery or very stretchy knit. If the top layer moves at a different pace from the bottom layer, the seam may pucker or wave.
Thread and stitch selection matter too. A straight stitch on a very stretchy knit can look neat at first but may distort the seam because the fabric is forced to behave like a woven. Likewise, a stitch that is too tight or too long for the fabric can create a wavy edge. For many sewists, the issue is a combination of settings rather than just one mistake.
Before changing too many things at once, check your machine manual. Different models respond differently to tension, stitch width, and presser foot settings, so it is always wise to follow the manufacturer’s guidance for your specific machine.
Needle, Thread, and Stitch Choices
Needle choice is one of the easiest fixes to test. For most knits, a ballpoint or stretch needle is a better starting point than a universal needle. These needles are designed to slip between the loops of the fabric rather than piercing and damaging them. A bent, dull, or incorrect needle can contribute to skipped stitches and uneven feeding, which can make seams look wavy.
Thread also plays a role. A good-quality polyester thread is often a dependable choice for knits because it has a little more give than cotton thread. That extra flexibility can help the seam move with the fabric. If your thread is old, fuzzy, or inconsistent, try a fresh spool and see whether the stitching becomes smoother.
Stitch selection is just as important. For highly stretchy knits, a narrow zigzag, lightning stitch, or another stretch stitch can allow the seam to flex without forcing the fabric to ripple. For stable knits with less stretch, a straight stitch may work if the seam does not need much give. The best option depends on the fabric type and project. Your machine manual can help you identify the built-in stretch stitches available on your model.
When testing, sew a few sample rows on the same knit before starting the project. A quick test strip can save a lot of seam ripping later and helps you see whether the seam lies flat after stitching and light pressing.
Presser Foot Pressure and Feeding
Too much presser foot pressure can flatten and stretch knit fabric as it passes under the foot. That extra pressure may seem helpful because it holds the fabric in place, but it can actually cause the seam to wave. If your machine allows pressure adjustment, try reducing it slightly and test again. Make only small changes so you can see what improves the result.
Feeding is another common source of trouble. The fabric should move through the machine smoothly without being pushed or dragged. If you are guiding the fabric too firmly, you may stretch the seam as you sew. Try to support the fabric lightly without pulling it. Let the feed dogs do the work.
Some machines include a walking foot or a knit-friendly foot, which can help feed the top and bottom layers more evenly. These accessories can be very useful for slippery or stretchy knits, but they are not required for every project. If you use one, follow the directions for your machine and foot style, since attachment methods vary by model and manufacturer.
When troubleshooting, sew slowly and observe how the knit enters the foot. If the fabric looks as though it is being dragged, squeezed, or stretched, pause and adjust before continuing. Gentle handling often improves the seam more than any dramatic setting change.
Browse our recommended products
Our featured picks refresh periodically. While we update them, our editorial guides can help you find the right pick.
See our guidesTension and Stitch Length Fixes
Thread tension can influence whether a seam lies flat or ripples. If the top thread is too tight, the seam may draw in and cause the knit to wave. If the tension is too loose, the stitches may look uneven or unstable. Because every machine behaves a little differently, it is best to adjust tension gradually and test on scraps from the same fabric.
Stitch length matters too. Very short stitches can create a stiff seam that does not flex well, which may contribute to waviness on stretchy fabric. Very long stitches can leave the seam looking loose or unstable. A medium setting is often a good place to begin, then refine from there. Again, your machine manual is the best guide for recommended starting points.
It can help to remember that tension and stitch length work together. A stitch that looks fine on the surface may still distort the fabric if the balance is off. If your seam is wavy, change one setting at a time so you can identify the cause. That way, you will not accidentally create a new problem while trying to solve the first one.
If you are using a serger or overlock machine, follow the manufacturer’s setup instructions closely. Serger settings are especially sensitive to fabric type, and the correct combination can differ widely from one machine to another.
Fabric Handling Before and During Sewing
How you prepare the knit before sewing can make a big difference. Prewash and dry the fabric in the same way you plan to care for the finished project, if the fabric type allows it. This helps reduce surprises later. Then let the fabric rest before cutting so it is not stretched out from handling.
Cutting accuracy also matters. If the pieces are uneven or warped, seams can look wavy no matter how well you sew them. Use sharp scissors or a rotary cutter and keep the fabric flat on the table as you cut. Try not to lift and tug the knit while measuring or pinning, because that can stretch the edges before the seam is even sewn.
During sewing, avoid holding the front and back of the fabric with too much tension. Many beginners instinctively pull the fabric to keep it straight, but that can lengthen the seam. Instead, guide the layers gently and allow them to feed naturally. If the knit is especially delicate, you can support the weight of the project on the table so it is not hanging and stretching off the machine bed.
Light pinning or fabric clips can help keep layers aligned without distortion. If you need extra control, try basting first on a test piece to see whether the seam stays flatter with less handling.
A Practical Troubleshooting Routine
If your knit seams keep coming out wavy, use a simple step-by-step routine instead of changing everything at once. Start with a fresh ballpoint or stretch needle. Then test a medium stitch length and a stretch-friendly stitch if your fabric needs it. Sew a sample on scraps from the same knit and press it lightly to see whether the seam relaxes.
If the seam still waves, reduce presser foot pressure a little if your machine allows it. Sew another test sample without pulling the fabric. If needed, lower the upper thread tension slightly and test again. Make only one change at a time so you can tell which adjustment helped.
Next, check whether the fabric itself is part of the issue. Very lightweight, loose, or highly elastic knits are more prone to distortion than stable double knits or ponte. In those cases, a walking foot, a stabilizing stitch, or a different seam construction may help. Some projects also benefit from staying stitches or a small amount of temporary stabilization at the seam edge, but always make sure the method suits the fabric and the pattern.
Keep notes on what works. A few small observations about needle type, stitch length, and tension can become a useful reference for future projects. That makes the next knit project less guesswork and more repeatable success.
Confidence-Building Takeaways
Fixing wavy seams on knit fabrics is usually less about finding one magic setting and more about balancing several small factors. The fabric, needle, thread, stitch, tension, and handling all influence the final look. When one of those elements is off, the seam may wave. When they work together, the seam can lie smooth and flexible.
If you are new to sewing knits, be patient with yourself. Knits can be forgiving in wear, but they are not always forgiving at the machine. That does not mean you need advanced skills to succeed. It simply means you should test on scraps, make small adjustments, and check your machine manual before changing settings that are specific to your model.
Most importantly, remember that a wavy seam is a fixable issue, not a failure. With a fresh needle, a more suitable stitch, gentler fabric handling, and careful tension tuning, you can get much cleaner results. The more you practice, the easier it becomes to recognize what your fabric needs before the seam goes wrong.