What Presser Foot Pressure Does
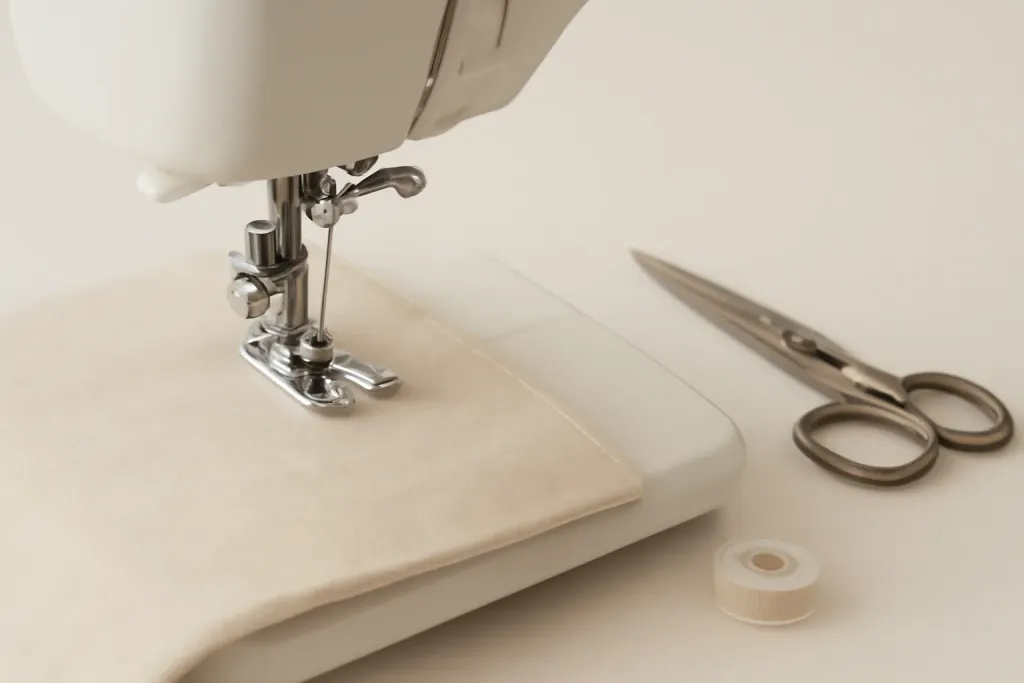
If you are learning presser foot pressure what it is and how to adjust it, the simplest way to think about it is this: the presser foot holds the fabric against the feed dogs while you sew. The pressure setting controls how firmly that foot presses down. Too little pressure and the fabric may not feed evenly. Too much pressure and the fabric can drag, stretch, or show marks.
This setting is not the same on every machine, and some models do a great job with very little user adjustment. Others have a dial, screw, or numbered control that lets you fine-tune the pressure for different fabrics. Because machines vary by brand and model, always check your own manual before changing anything.
When the pressure is balanced correctly, the fabric moves smoothly, stitches look more even, and you are less likely to fight puckers, shifting layers, or that frustrating feeling that the machine is pulling harder than you are.
Why It Matters for Different Fabrics
Presser foot pressure becomes especially important when you sew fabrics that behave very differently from one another. Lightweight cotton, rayon, silk, knits, denim, canvas, vinyl, and layered quilt sandwiches all respond in their own way. A setting that works well for one project may not be ideal for the next.
With slippery or delicate fabrics, too much pressure can make the fabric shift, leave marks, or cause the feed dogs to leave visible impressions. With thick or lofty fabrics, too much pressure can compress the layers and make feeding harder. On the other hand, very low pressure on a lightweight fabric can let the fabric bunch up, wander off course, or feed unevenly.
That is why this setting is so useful for beginners. It gives you another way to improve sewing results without changing thread, needle, or stitch style every time. It is a small adjustment that can make sewing feel much calmer and more controlled.
Signs the Pressure Needs Adjusting
If your seams look slightly uneven, your layers are drifting, or the fabric seems to hesitate as it enters the machine, presser foot pressure may be part of the problem. You may also notice puckering on lightweight woven fabrics, stretching on knits, or shiny marks on delicate cloth. These are all clues that the fabric is not being held with the right amount of tension from above.
Another common sign is when one fabric seems to sew beautifully and another suddenly feels difficult, even though you have not changed anything else. That is often the moment to pause and consider whether the presser foot pressure should be lighter or firmer for the project at hand.
It helps to remember that pressure is only one part of stitch quality. Needle size, thread type, stitch length, presser foot type, and feed-dog performance all matter too. Still, if the machine was sewing fine yesterday and is acting picky today, this setting is worth checking.
How to Find the Control on Your Machine
Not every sewing machine places the presser foot pressure control in the same spot. On some machines it is a numbered dial near the top or front. On others it may be a screw-style adjustment. A few machines have an automatic system that requires little or no manual adjustment for normal sewing.
Before turning anything, look in your machine manual for the exact location and the recommended range of settings. If the manual uses numbers, note the factory default so you can return to it later. If your machine has a setting that is marked for specialty fabrics or automatic compensation, follow the manufacturer’s guidance rather than guessing.
It is also a good idea to make one small change at a time. That way, you can tell whether the new setting helped. If you adjust several things at once, it becomes much harder to know what made the difference.
Browse our recommended products
Our featured picks refresh periodically. While we update them, our editorial guides can help you find the right pick.
See our guidesHow to Adjust It Safely and Simply
To adjust presser foot pressure safely, start with your machine turned off and unplugged if your manual recommends that for external adjustments. Then locate the pressure control and move it only in the direction the manufacturer describes. Avoid forcing a dial or screw. If it resists, stop and consult the manual rather than applying extra pressure.
A practical approach is to begin with the standard setting recommended for everyday sewing. If fabric is slipping or shifting, increase the pressure a small amount. If fabric is flattening, marking, or dragging, reduce it a little. Sew a test seam after each tiny adjustment and observe how the fabric feeds from the front and the back.
Keep notes if that helps you. A simple reminder such as “light setting for chiffon,” or “medium setting for cotton,” can make future projects easier. If you sew a variety of fabrics, these notes become a handy reference.
Never open the machine’s internal panels or attempt electrical repair for this adjustment. If the control seems stuck, broken, or inconsistent, the safest choice is to stop using it and refer to the manufacturer or an authorized service source.
Quick Test Seams That Help You Check Results
When you are learning presser foot pressure what it is and how to adjust it, a short test seam is one of the best teaching tools. Cut a small fabric sample from the same material you plan to use, and if possible include the same number of layers and interfacing. Sew a few straight lines at your usual speed and watch how the fabric enters the machine.
Then examine the sample closely. Are the stitches even? Did the layers stay aligned? Did the top fabric ripple, pucker, or stretch? Did the seam look smoother after a small pressure change? These little checks tell you more than sewing a full project while hoping for the best.
If your machine has different presser feet for specific tasks, use the foot recommended in the manual for that stitch or fabric type. Pressure adjustment works best when the rest of the setup is also appropriate. A careful test seam can save time, reduce frustration, and protect your fabric from unnecessary mistakes.
Common Fabric Scenarios
For lightweight cotton or quilting cotton, many sewists do well with the standard pressure setting, though a slight reduction can help if the fabric is bunching or leaving feed-dog marks. For knits, a little less pressure often helps the fabric move without stretching, especially if you are using a stretch stitch or walking foot recommended by the manufacturer.
For denim, canvas, upholstery-weight cotton, or multiple layers, a bit more pressure may help the feed dogs grip and move the layers evenly. If the machine sounds strained or the layers hesitate, check whether the pressure is too light for the thickness you are sewing.
For silk, rayon, chiffon, and other slippery fabrics, a gentler touch is often kinder. Too much pressure can make the fabric flatten or creep. For vinyl, leather-like materials, or other specialty surfaces, consult the machine manual because some materials and feet need a careful, specific approach. In every case, the goal is not the strongest pressure possible, but the most even feeding for that fabric.
Troubleshooting and Final Reminders
If adjusting presser foot pressure does not solve the issue, look at the whole sewing setup. The needle may be wrong for the fabric, the thread may be too heavy, the stitch length may be too short, or the presser foot type may not suit the project. Sometimes what feels like a pressure problem is actually a combination of small setup issues.
Also remember that different machines may respond differently even when the settings look similar. One model may sew beautifully at a mid-range setting, while another needs a lighter or firmer touch for the same fabric. That is why your manual matters so much. It is the best guide for your exact machine.
The good news is that this is a very beginner-friendly adjustment once you understand the basics. Start small, test often, and let the fabric tell you what it needs. With a little practice, you will begin to recognize when to lighten the pressure, when to firm it up, and when to leave the setting alone.