Why Thread Tension Changes With Fabric Type
When you are dialing in thread tension for cotton woven vs stretch knit, start with one simple idea: these fabrics behave differently under the needle. Cotton woven fabric is stable, while stretch knit can move, stretch, and rebound. The same tension setting that works well on one may look too tight or too loose on the other.
Thread tension is the balance between the upper thread and the bobbin thread. If that balance is off, stitches may pucker, loop, or form unevenly. On cotton woven, problems often show up as a pulled seam, tiny puckers, or bobbin thread visible on top. On knit, the signs can be skipped stitches, tunneling, wavy seams, or a stitch line that looks stretched out.
You do not need to chase a perfect number right away. Most modern machines are meant to work near a standard starting point, and the exact setting depends on your machine, thread, needle, and fabric. Always check your machine manual first, because manufacturers may recommend specific defaults or presser foot adjustments for certain projects.
Think of tension as a small dial that fine-tunes the stitch, not a setting you must force. Once you know how cotton woven and stretch knit respond differently, you can make calmer, smarter adjustments and spend less time guessing.
Start With a Reliable Baseline
For dialing in thread tension for cotton woven vs stretch knit, begin with your machine’s normal setting rather than chasing perfection on the first try. Sew a short test seam on the exact fabric, thread, and needle you plan to use, then inspect both sides of the stitches.
Make one change at a time and keep notes so you can return to a known setting if needed. Small adjustments are safer and easier to read than big jumps. When in doubt, refer to your machine’s manual for model-specific guidance.
How Cotton Woven Usually Prefers Tension
Cotton woven fabric is steadier and less elastic, so it often tolerates a firmer, more standard tension than knit. The goal is even stitches that sit neatly in the seam without puckering the cloth or leaving loose loops underneath.
If the seam looks tight or rippled, ease tension a little and test again on scraps. If the stitches look slack, increase gradually. Because fabric weight, thread, and machine design all affect results, use your machine manual as the final guide.
How Stretch Knit Reacts Differently
Stretch knit behaves differently because it must move with the body. If top tension is too tight, stitches can pull the fabric, flatten the seam, or create wavy edges. A balanced setting helps the seam keep stretch without fighting the knit’s recovery.
Start with a reliable baseline, then test on scraps cut in the same direction as the project. Watch for loops on the underside, tight tunneling, or stretched-out seam lines, and adjust in small steps. As always, check your machine’s manual for the tension range it recommends for your model.
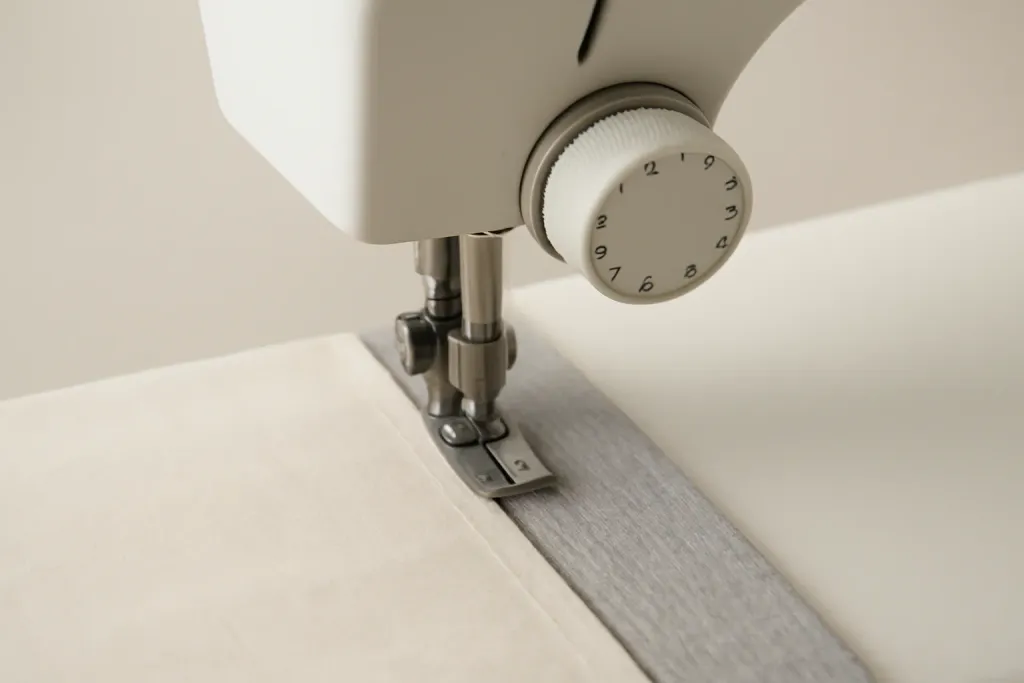
Simple Test Methods That Save Time
The easiest way to dial in tension is to test with fabric scraps before sewing the real project. Use scraps cut from the same fabric, because a test on a similar but different cloth may not tell you enough. If you are making a woven cotton top, test on the same cotton woven yardage. If you are sewing a stretch knit tee, test on the same knit and the same direction of stretch.
A good test strip should include the same details as the project seam whenever possible. If the garment seam will be sewn through two layers of knit, test on two layers. If the woven project includes interfacing or topstitching, include a sample of that too. The closer your test is to the final seam, the more useful the result will be.
Try this simple method:
- Sew a short sample seam on the scrap.
- Inspect the top and bottom thread paths.
- Check whether the seam lies flat.
- Gently stretch knit samples to see whether the seam flexes without distortion.
- Adjust only one setting if needed, then sew another sample.
For cotton woven, you are looking for a balanced, flat seam with no obvious pulling. For stretch knit, you want a seam that stretches with the fabric and returns without obvious breaking, tunneling, or wobbling. If the sample still looks off after small changes, stop and rethread the machine from scratch. A threading error can mimic the symptoms of bad tension.
Keep your test scraps near your machine while you work. They save time, reduce frustration, and give you confidence before you sew the actual project pieces.
Browse our recommended products
Our featured picks refresh periodically. While we update them, our editorial guides can help you find the right pick.
See our guidesTroubleshooting Common Signs
When tension is not quite right, the fabric usually gives you clues. Learning to read those clues is more helpful than memorizing a single setting number. Start with the visible stitch line, then check how the seam feels when you handle it.
If you see top thread loops on the underside of a woven seam, the upper tension may be too loose, or the machine may not be threaded correctly. If the fabric puckers and the stitch line looks drawn together, the upper tension may be too tight. On knit fabric, the same symptoms can happen, but you should also consider whether the stitch type and needle are suitable for stretch.
Here are a few common symptoms and what they often suggest:
- Loops on the bottom: upper tension too loose or threading issue.
- Bobbin thread showing on top: upper tension too tight or threading issue.
- Puckering on woven cotton: tension too tight, needle too small, or seam too dense.
- Tunneling on knit: tension too tight, stitch too narrow, or fabric not supported well.
- Wavy knit seam: fabric being stretched during sewing, presser foot pressure too high, or stitch choice not suited to the fabric.
Do not forget that thread quality matters too. Thick, fuzzy, or poor-quality thread can behave unpredictably, especially on knit fabrics with more movement. A fresh needle and steady sewing speed can make a surprising difference.
It also helps to sew at a moderate pace. Sewing too fast can make it harder to keep the fabric relaxed and can create the illusion that tension is the problem. Smooth handling often fixes more than a big tension change ever will.
When to Change More Than the Dial
Sometimes the tension dial is not the main problem, even though it seems like it is. If your stitches are still messy after small tension adjustments, step back and look at the whole setup. Fabric, needle, thread, stitch, and machine threading all work together. One weak point can throw off the result.
For cotton woven, try a fresh universal or sharp needle if the fabric is ordinary quilting cotton or a similar stable weave. For stretch knit, switch to a needle designed for knit fabrics if your manual recommends it. In both cases, make sure the needle size matches the fabric weight and thread. A needle that is too large can leave visible holes; one that is too small may cause skipped stitches or strain.
You may also need to change stitch length. Short stitches can make woven seams stronger but may add bulk in some areas. On knits, a stitch that is too short may reduce stretch or create a stiff seam. Your machine manual may suggest starting points for different fabric types, and that is usually the safest place to begin.
Another useful adjustment is the presser foot. Some machines come with a walking foot or a stretch-friendly foot that helps feed fabric more evenly. If your manual describes an accessory and you already own it, it may improve results without requiring major tension changes. Follow the manual for installation and use, and avoid any internal or electrical adjustments to the machine.
If you are still stuck, return to the basics: rethread, replace the needle, test on scraps, and make one change at a time. Most tension puzzles can be solved without complicated steps.
Building Confidence With Repeatable Routines
The fastest way to feel comfortable with tension is to build a routine you can repeat every time you switch fabric types. That way, moving from cotton woven to stretch knit does not feel like starting from zero. You already know what to check and in what order.
A simple routine might look like this: read the project pattern or fabric notes, check the machine manual, insert the correct needle, thread the machine carefully, set the stitch appropriate for the fabric, and sew a test sample. If the sample is wrong, make a small tension change and test again. That routine works because it keeps the process calm and systematic.
It is also worth keeping a few labeled scrap swatches near your machine. Save one example of a balanced woven seam and one example of a balanced knit seam. Those samples become a visual reminder of what success looks like on your own machine. Since every machine and fabric combination behaves a little differently, your personal reference is often more useful than a generic chart.
Most of all, be patient with yourself. Tension is not a sign that you are doing sewing wrong. It is simply part of learning how your machine and fabric work together. Once you understand how cotton woven and stretch knit respond, you will spend less time second-guessing and more time enjoying the sewing process.
Quick Takeaway for Beginners
If you remember only one thing, let it be this: cotton woven and stretch knit rarely want the exact same tension behavior. Woven cotton usually rewards a standard, balanced setting and small adjustments. Stretch knit often needs more attention to stitch choice, fabric handling, and sometimes a slightly different tension feel.
Always test on scraps, change one variable at a time, and check your machine manual before adjusting settings. Your machine model, thread type, needle choice, and fabric weight all affect the final stitch. With a gentle, step-by-step approach, dialing in thread tension for cotton woven vs stretch knit becomes much less mysterious and a lot more manageable.