Overview
Tension problems are one of the most common reasons a beginner's stitches look wrong even though the machine seems to be running fine. Understanding what balanced tension actually looks like, and working through likely causes in order, will solve most tension issues without needing to guess at random dial settings.
Tension refers to how tightly the top thread and bobbin thread pull against each other as a stitch forms. When both threads pull evenly, the interlock between them sits centered inside the fabric layers, invisible from either side. When one thread pulls more than the other, that interlock shifts toward one side, creating visible loops or puckering.
Before adjusting any dial, it helps to confirm the problem is actually tension and not a threading or needle issue, since those two causes are far more common for beginners and are often mistaken for a tension problem.
Reading your stitches
Sew a test line on a scrap of the fabric you plan to use, then look at both the top and underside of the seam. If small loops of thread appear on the underside (bobbin side), the top tension is often too loose relative to the bobbin, letting too much top thread show through underneath.
If small loops appear on the top side instead, or the fabric puckers and gathers along the seam, the top tension may be too tight, pulling the bobbin thread up and distorting the fabric. Puckering can also be caused by fabric-feeding issues rather than tension alone, so treat this as one clue rather than a certain conclusion.
A balanced stitch shows a smooth, even line of stitches on both sides, with no visible looping and no puckering along the seam. Keep a small notebook or reference photo of what "correct" looks like on your machine and typical fabric, so future comparisons are easier.
Check threading and bobbin first
Before touching the tension dial, re-thread the top thread completely, making sure the presser foot is raised while you do it (tension discs only engage properly with the foot up) and that the thread is seated in every guide, including the take-up lever. A surprising number of tension-looking problems are actually incomplete threading. See our threading guide for the full step-by-step process.
Check the bobbin next. Confirm it's wound evenly (not lumpy or overfilled), inserted in the correct direction for your machine, and seated fully in its case or compartment. A bobbin that's wound unevenly or inserted backward can mimic the exact symptoms of a top-tension problem.
Also check for lint or thread fragments trapped in the bobbin area or tension discs, especially if the machine hasn't been cleaned recently. A small buildup of lint can subtly change how thread moves through the tension mechanism. Switch off and unplug the machine before brushing out lint with a small brush, following your manual's cleaning instructions.
Adjusting top tension
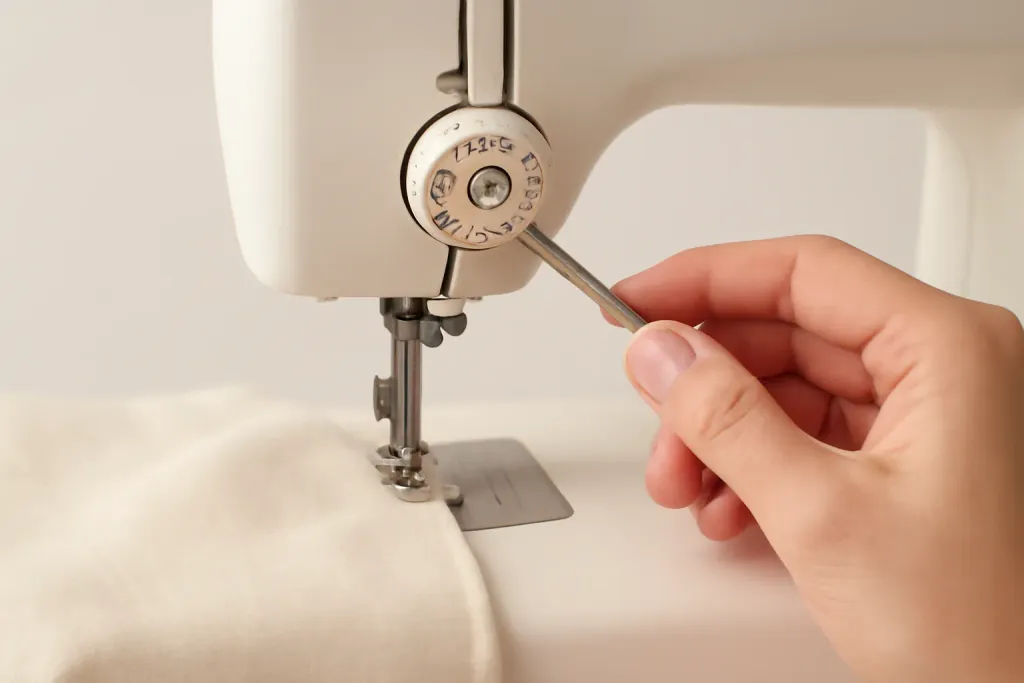
If threading, bobbin, and cleaning all check out and the problem persists, your machine's top-tension dial is the next thing to check. Tension dials are usually numbered, with a middle setting (often around 4 or 5, though this varies by machine) as the typical default for medium-weight woven fabric.
Make small adjustments -- a half step at a time -- and test-sew after each change on the same scrap fabric, rather than making a large adjustment all at once. Loose top loops on the underside usually call for slightly increasing top tension; puckering or top-side loops usually call for slightly decreasing it, but sew a test line to confirm rather than assuming.
Write down or photograph your machine's default tension setting before you start adjusting, so you can return to it if changes don't help. Getting lost between settings without a known starting point makes troubleshooting much harder.
Browse our recommended products
Our featured picks refresh periodically. While we update them, our editorial guides can help you find the right pick.
See our guidesFabric and needle factors
Different fabrics genuinely need different tension settings. A lightweight, slippery fabric like a fine cotton lawn often needs a lighter tension than a heavier fabric like denim, simply because thinner fabric offers less resistance as thread pulls through it.
An incorrect needle for your fabric can also produce tension-like symptoms. A needle that's too fine for a heavy fabric, or too heavy for a delicate one, can cause skipped stitches, thread shredding, or fabric snagging that looks similar to a tension problem at first glance. See our needle guide for matching needle type to fabric weight.
If you switch fabric types or thread weights partway through a project, it's normal to need a small tension re-check, even if your previous settings were working well. This isn't a sign anything is broken -- it's a normal part of adapting settings to different materials.
When to stop adjusting and get help
If you've re-threaded carefully, checked the bobbin, cleaned out visible lint, confirmed your needle matches your fabric, and small tension adjustments still haven't resolved the problem, it's reasonable to stop and consider that something mechanical -- rather than a simple setting -- may be involved.
Grinding noises, a needle that doesn't move smoothly by hand, or tension that changes unpredictably between identical test seams are signs worth taking to a qualified repair professional rather than continuing to adjust settings on your own. Attempting an internal repair beyond your manual's guidance risks further damage.
Always switch off and unplug your machine before doing any cleaning, needle change, or close inspection near the tension discs or bobbin area.
Keeping a simple tension log
If you sew a wide variety of fabrics, it can help to keep a short written log of tension settings that worked well for specific fabric-and-thread combinations. Over time this becomes a personal reference that's faster to check than re-testing from scratch every time you switch fabric types.
A simple index card or note taped near your machine, listing fabric type, needle used, and roughly where the tension dial sat, is enough -- this doesn't need to be a formal system. The goal is just to shortcut repeated trial and error for fabrics you sew often.
Revisit your log periodically, since a machine's behavior can shift slightly over time with use, cleaning, or after maintenance. Treat old notes as a helpful starting point rather than an exact guarantee that the same setting will work identically every time.
If you ever sell, gift, or borrow a machine, a tension log like this is also a genuinely useful thing to pass along, since it shortens the learning curve for whoever uses the machine next. It's a small piece of documentation that quietly saves a future beginner a lot of the trial and error you went through yourself.
Even a rough log built from just a handful of entries is more useful than none at all -- you don't need to document every single project to get value from this habit, just the fabrics and combinations that gave you the most trouble the first time around.
Final thoughts
Most tension problems trace back to threading, the bobbin, or a needle-fabric mismatch rather than the tension dial itself -- working through those first, in order, solves the majority of cases without guesswork. Keep notes on your machine's default settings so you always have a known point to return to.
For the broader threading process this troubleshooting builds on, see our how to thread a sewing machine guide, and revisit using a sewing machine for beginners if you're still building overall confidence with your machine.