Overview
Learning to use a sewing machine is mostly about repetition -- once your hands know how to guide fabric evenly and your foot knows how to control the pedal, the rest of sewing becomes much easier to pick up. This guide walks through the basics for a brand-new machine owner: identifying the main parts, getting set up safely, and sewing your first practice seams.
Every machine is a little different, so keep your manual nearby while you work through this guide. The steps here describe the general process that applies to most home sewing machines, but exact button names, thread paths, and settings are specific to your model.
Give yourself permission to practice on scrap fabric before starting a real project. A stack of fabric scraps and twenty minutes of unhurried practice will teach you more about how your specific machine behaves than reading about it ever will.
Get to know the main parts
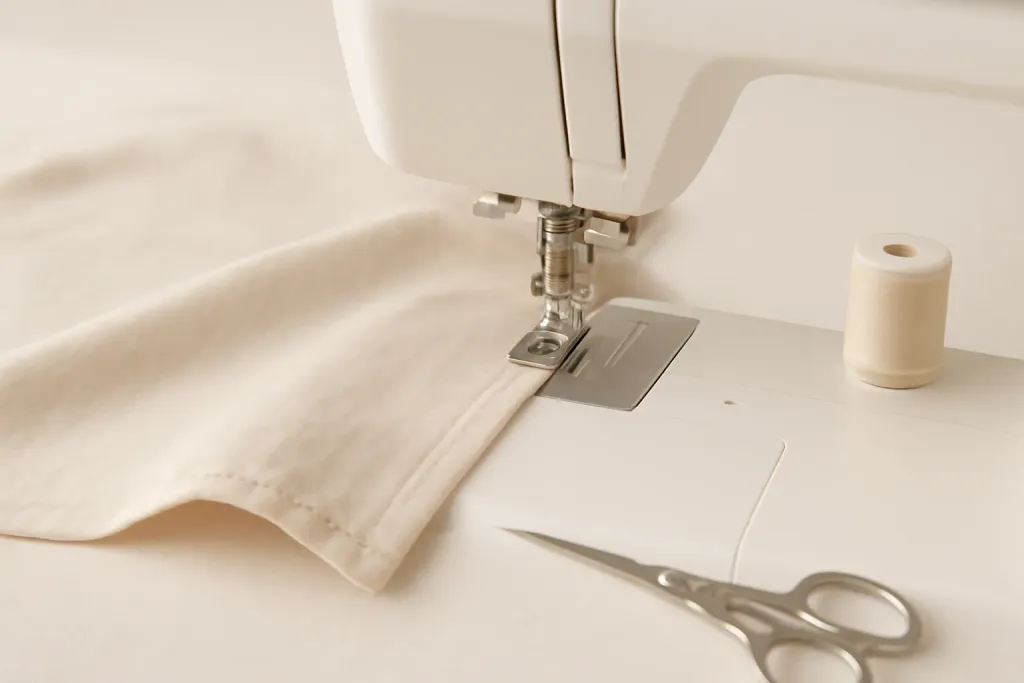
The needle and presser foot sit at the front of the machine, where fabric passes through during sewing. The presser foot holds fabric flat against the machine bed (the flat surface fabric rests on) so the needle can form even stitches. Most machines have a lever near the back or side to raise and lower the presser foot.
Underneath the needle plate sits the bobbin area, which holds a small spool of thread that forms the underside of each stitch. The top thread and bobbin thread interlock inside the machine to create a stitch, which is why both need to be threaded correctly for the machine to sew properly.
The handwheel, usually on the right side of the machine, manually raises and lowers the needle when turned toward you. This is useful for starting a seam precisely or freeing a stuck needle without running the motor. The foot pedal, connected by a cord, controls both starting the machine and how fast it sews -- more pressure means faster stitching, similar to a car's accelerator.
Stitch-length and stitch-width controls, whether dials or a digital menu, adjust how long each stitch is and how wide a zigzag stitch swings. Familiarize yourself with where these controls are on your specific machine before your first practice seam.
Before you start sewing
Set up your machine on a stable, flat surface at a comfortable seated height, with enough space to your left for fabric to move freely as it feeds through. A wobbly table or cramped space makes it harder to feed fabric evenly, especially while you're still building confidence.
Insert a needle appropriate for your practice fabric -- a general-purpose needle works for most woven cottons. See our needle guide if you're unsure which type to start with. Thread the machine following your manual's exact path, since thread guides and tension discs vary between models, and then wind and insert a bobbin using your machine's specific bobbin-winding process.
Do a quick test: with the presser foot down and a scrap of fabric underneath, turn the handwheel slowly by hand for one full stitch cycle to confirm the needle rises and lowers smoothly and the bobbin thread catches. This slow first stitch catches basic threading mistakes before you run the motor at speed.
Your first practice seam
Place two layers of scrap fabric right sides together, aligned along one edge. Position the fabric under the presser foot so the needle will land about half an inch from the edge, lower the presser foot, and gently press the foot pedal to begin sewing a straight line.
Guide the fabric with light, steady hand pressure rather than pushing or pulling it -- the machine's feed dogs (small teeth under the needle plate) move the fabric through on their own. Your job is mainly to keep the fabric edge aligned with a consistent seam-allowance guide, which is often marked directly on the machine's needle plate.
At the start and end of a seam, most beginners are taught to backstitch a few stitches (sewing briefly in reverse, then forward again) to lock the stitching in place so it doesn't unravel. Check your manual for your machine's reverse-stitch control, usually a lever or button near the needle.
Repeat this practice seam several times on scrap fabric, varying your speed and fabric alignment, until guiding fabric in a straight line feels comfortable. There's no need to move to a real project until this feels natural -- rushing this stage is one of the most common sources of beginner frustration.
Browse our recommended products
Our featured picks refresh periodically. While we update them, our editorial guides can help you find the right pick.
See our guidesControlling speed and direction
Most new sewists start too fast, simply because it's hard to judge foot-pedal pressure without experience. Start every session by sewing a few seams at a deliberately slow, controlled speed, then gradually increase speed only once your fabric-guiding feels steady at the slower pace.
Turning corners takes a specific technique: with the needle down in the fabric (use the handwheel if needed), lift the presser foot, pivot the fabric to the new direction, then lower the foot and continue sewing. Practicing pivots on a simple square drawn on scrap fabric is a good way to build this skill before you need it on a real project.
If your stitches look uneven, bunched, or the machine seems to jam, stop and check threading and bobbin placement before continuing -- forcing fabric through a jammed machine can bend a needle or damage the timing. See our tension troubleshooting guide for common causes of uneven stitches.
Safety basics
Keep fingers away from the immediate needle area while the machine is running, and get in the habit of stopping fully -- foot off the pedal -- before adjusting fabric position near the needle. The needle moves quickly enough that a moment of inattention is the most common way beginners get pricked.
Always switch off and unplug your machine before changing the needle, clearing a jam, or doing any cleaning around the bobbin area or feed dogs. This is a simple habit that prevents the machine from accidentally engaging while your hands are near moving parts.
If your machine makes an unusual grinding noise, smells like it's burning, or the needle doesn't move smoothly by hand, stop using it and consult your manufacturer's manual or a qualified repair professional rather than continuing to sew or attempting an internal repair yourself.
Getting comfortable over time
Plan on several short practice sessions rather than one long one. Fifteen or twenty focused minutes, a few times a week, tends to build steadier hand control than a single marathon session where fatigue starts to affect your fabric guiding toward the end.
Keep a small stack of scrap fabric specifically for warming up before a real project, even after you've moved past the beginner stage. A minute or two of practice seams at the start of a session re-establishes your rhythm with a specific machine, especially if you've been away from it for a while or are switching between more than one machine.
It's normal for early seams to look slightly uneven, and that unevenness typically improves with repetition rather than by trying to consciously overcorrect every stitch. Resist comparing your first attempts to a finished garment you might see elsewhere -- consistent practice matters far more than any single seam looking perfect right away.
Final thoughts
Comfort with a sewing machine comes from repetition on low-stakes practice fabric, not from reading instructions alone. Give yourself several short practice sessions before starting a real project, and keep your manual within reach for anything specific to your model.
Once straight seams feel comfortable, move on to our threading guide for a closer look at getting your specific machine threaded correctly every time, and browse beginner projects for an achievable first make.