Why Seam Finishes Matter
Choosing a seam finish can feel like a small detail, but it has a big impact on how your project looks, lasts, and feels to sew. A seam finish helps control fraying, adds durability, and can make the inside of your garment or home project look much more polished. For beginners, the best finish is often the one that matches your fabric, your machine, and your comfort level.
In this guide, we compare 10 seam finishes with their pros, cons, and best uses. The goal is not to find one “perfect” finish for every project. Instead, it is to help you match the finish to the fabric and the result you want. As always, check your machine’s manual for stitch settings, feet, and recommended techniques, because machines and fabrics vary by model and manufacturer.
If you are shopping for supplies through an affiliate link, think of seam finishes as part of your sewing toolkit rather than an extra step to skip. A little planning here can save time later and help your seams hold up better through wear and washing.
1. Plain Zigzag Finish
A plain zigzag finish is one of the easiest ways to keep seam allowances from fraying. After sewing your seam, you stitch close to the raw edge with a zigzag stitch, then trim if needed. Many beginners start here because it uses a basic stitch most machines already have.
Pros: simple, quick, and easy to adjust for different fabrics. It works well on many woven fabrics and is helpful when you want a clean finish without special tools.
Cons: it can look bulky on thick fabrics, and it may not be the neatest option for very sheer or delicate textiles. If the stitch is too wide or too loose, fraying can still happen.
Best uses: everyday sewing, test projects, cotton blends, and other beginner-friendly woven fabrics. If you are unsure where to begin, this is a practical starting point. Check your manual for stitch width and tension guidance before sewing.
2. Overcast Stitch
An overcast stitch imitates the look of serging by stitching around the edge of the seam allowance. Some machines include a built-in overcast stitch and a matching presser foot. This can give a tidy edge that helps reduce fraying while keeping the seam flexible.
Pros: neat-looking, flexible, and often more polished than a simple zigzag. It is especially helpful when you want the inside of a garment to look more finished.
Cons: it can be slower than a serger, and not every machine has a true overcast setting. The edge may still curl on lightweight fabrics if the stitch is too tight.
Best uses: medium-weight woven fabrics, casual garments, and projects where you want a cleaner inside finish without changing machines. Your manual may suggest a specific presser foot or stitch setting for best results.
3. Turned-and-Stitched Finish
The turned-and-stitched finish folds the raw edge under once or twice and then stitches it in place. It creates a very tidy edge and hides fraying well, especially on straight seams. This finish takes a little more time, but it is straightforward once you get the rhythm.
Pros: clean, enclosed, and attractive. It does a good job of concealing raw edges, which is great for visible interiors.
Cons: it can add bulk, especially on thicker fabrics or curved seams. It may not work well where the seam allowance is very narrow.
Best uses: lightweight to medium-weight cottons, simple bags, linings, and seams that stay fairly straight. Beginners often like this finish when they want a neat result and do not mind a little extra pressing.
Browse our recommended products
Our featured picks refresh periodically. While we update them, our editorial guides can help you find the right pick.
See our guides4. Pinked Edge
A pinked edge uses pinking shears to cut a zigzag shape along the seam allowance. This does not fully stop fraying, but it can reduce it on fabrics that are not overly loose-woven. It is one of the fastest seam finishes and requires no machine stitch at all.
Pros: very quick, low-cost, and easy to do. It is useful when you want to finish a seam fast or keep the bulk minimal.
Cons: it offers limited fray control and is not the strongest option for high-wear seams. On some fabrics, the tiny points may still fray over time.
Best uses: lightweight projects, practice sewing, seam allowances that will not get heavy wear, and projects where speed matters more than durability. Because fabric behavior varies, test pinking on a scrap before using it on your final project.
5. Edge-Stitched or Understitched Finish
Edge stitching and understitching are often used on facings, collars, waistbands, and other areas where you want the seam to lie flat. These techniques help control the seam allowance and improve the look of the finished edge. While they are not a full fray-proof seam finish on their own, they are very useful in structured sewing.
Pros: helps seams sit smoothly, reduces rolling, and supports a professional-looking shape. It is especially helpful where the seam is visible from the outside.
Cons: it does not fully finish raw edges, so it usually works best alongside another method. It also calls for careful pressing and accuracy.
Best uses: garment facings, necklines, waistbands, and projects where shaping matters. For beginners, this is a good technique to learn after you are comfortable with basic seam sewing and pressing.
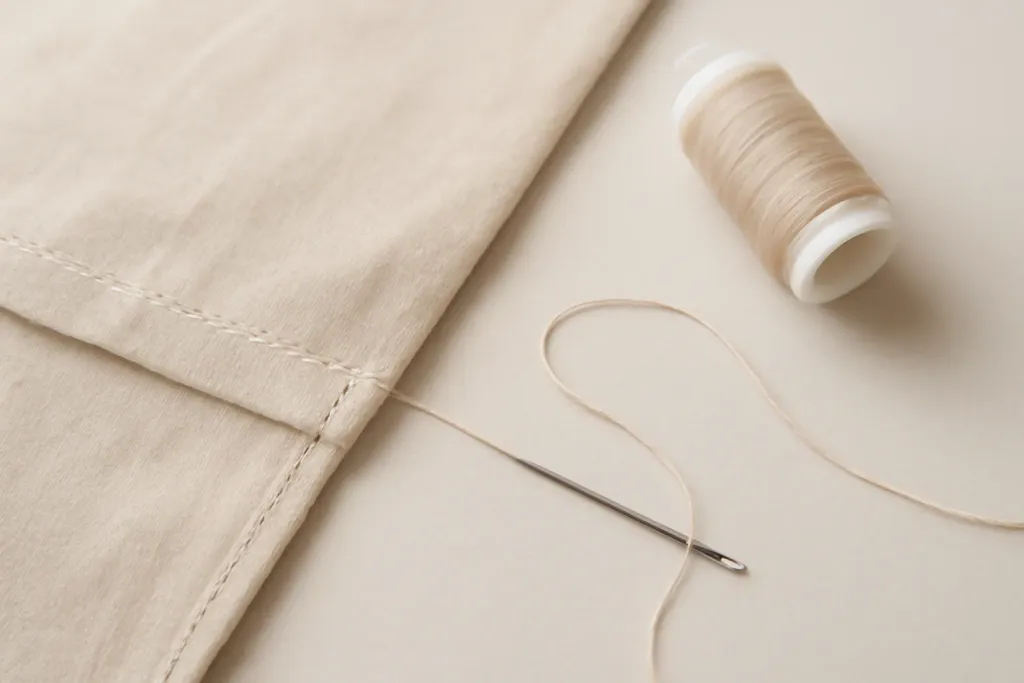
6. Bound Seam
A bound seam encloses the raw edge with fabric or bias binding, creating a very clean and often decorative finish. You may use self-fabric, bias tape, or a separate binding material depending on the project. This finish looks especially nice when the interior will be visible.
Pros: attractive, durable, and good for reducing fraying. It can also add a custom look to the inside of a garment or home accessory.
Cons: it takes more time and accuracy, and binding can add bulk if the fabric is heavy. Matching curves neatly can also be challenging at first.
Best uses: jackets, unlined garments, tote bags, and projects where the inside finish is part of the design. If you are new to binding, start with a straight seam and a stable cotton fabric.
7. Flat-Felled Seam
A flat-felled seam encloses the raw edge inside a double-stitched construction, creating a strong and tidy seam that lies flat. It is commonly seen on jeans, workwear, and other items that need durability. This is one of the sturdier finishes in the list.
Pros: very strong, durable, and excellent for reducing fraying. It also gives a classic, polished look.
Cons: it can be bulky and takes careful pressing and sewing. It is less forgiving if you are still learning to sew straight seam allowances.
Best uses: denim, sturdy cottons, children’s clothing, and seams that will get frequent wear. Check your machine manual for handling thick layers, and test the finish on scraps before committing to a full project.
Browse our recommended products
Our featured picks refresh periodically. While we update them, our editorial guides can help you find the right pick.
See our guides8. French Seam
A French seam encloses the raw edges inside the seam itself, making it a favorite for delicate and sheer fabrics. You sew the seam with wrong sides together first, trim, press, then sew again with right sides together so the raw edge disappears inside. The result is clean and elegant.
Pros: beautiful inside finish, excellent fray control, and good for lightweight fabrics that might unravel easily. It can make a project feel more refined.
Cons: not ideal for thick fabrics or seam allowances that need to stay very flat. It also requires accuracy, because the first seam must be placed carefully.
Best uses: voile, chiffon-like wovens, lingerie-inspired garments, blouses, and other lightweight items. This is a great technique to learn once you are comfortable with basic seam allowances and pressing.
9. Serged or Hong Kong Finish
A serged finish uses an overlock machine to trim, stitch, and enclose the seam edge in one step. A Hong Kong finish uses bias binding to cover the raw edge, often on unlined garments. These are different methods, but they both aim for a clean and professional-looking interior.
Pros: serging is fast and efficient, while a Hong Kong finish is elegant and strong. Both can give excellent fray control when done well.
Cons: sergers are separate machines, so not everyone has one, and bias binding takes time and patience. Neither method is necessary for every project.
Best uses: knits and woven fabrics for serging, tailored jackets and unlined garments for Hong Kong finishes. If you use a serger, follow your machine manual for threading and setup. Never attempt internal repairs or unsafe electrical fixes yourself.
10. Self-Bound or Bias-Encased Finish
A self-bound or bias-encased finish uses a narrow strip of fabric to wrap and secure the seam allowance. It is similar in spirit to a bound seam, but it can be narrower and more delicate in appearance. This finish works especially well when you want the inside to look polished without adding too much bulk.
Pros: neat, customizable, and useful for lightweight projects. It can also coordinate beautifully with your main fabric or lining.
Cons: it requires patience and accurate pressing, and tiny binding strips can be fiddly for beginners. If the fabric is slippery, the result may be harder to control.
Best uses: lightweight garments, fine cotton projects, lined items, and seams where you want a tailored interior. It is a good option when you want a decorative finish that still helps manage fraying.
How to Choose the Right Finish
When comparing 10 seam finishes, the best choice usually comes down to three things: fabric, seam stress, and your sewing tools. Lightweight fabrics often do best with French seams, turned-and-stitched finishes, or narrow bound edges. Medium-weight wovens can handle zigzag, overcast, or bound seams well. Heavy fabrics often need strong finishes like flat-felled seams or a clean serged edge.
It also helps to think about where the seam will live. A side seam in a casual top may not need the same level of reinforcement as a seam in jeans or a tote bag. If the seam is visible, you may want a finish that looks neat from the inside as well as the outside. If the seam is hidden, simplicity may matter more than appearance.
For beginners, the easiest route is usually to test two or three finishes on scraps before you sew the final project. That way, you can compare bulk, fraying, and ease of pressing. Your machine’s manual may also recommend specific stitches, feet, or settings for certain fabrics, so it is always worth checking before you start.
There is no single best seam finish for every sewing project. The most helpful skill is learning to match the finish to the fabric and the purpose of the item. Once you do that, even basic seams can look more polished and last longer.