Why This Project Works So Well
A pillowcase with French seams in under an hour is one of those satisfying sewing projects that feels both practical and polished. It is a great choice if you want a quick win, a neat inside finish, and a handmade item you can actually use right away. French seams are especially helpful because they enclose the raw edges, so the inside of the pillowcase looks clean and stays tidy through washing and everyday use.
This project is also beginner-friendly because the shape is simple. You are mostly sewing straight lines, which makes it a smart way to build confidence if you are still getting comfortable with your machine. Even better, you can make one from cotton fabric scraps, a favorite print, or a seasonal fabric that turns an ordinary bed into something a little more cheerful.
If you are planning to sew along, keep in mind that machines and fabrics vary by model and manufacturer. Always check your own machine’s manual for stitch settings, presser feet, and seam allowance guidance before you begin.
Materials and Fabric Choices
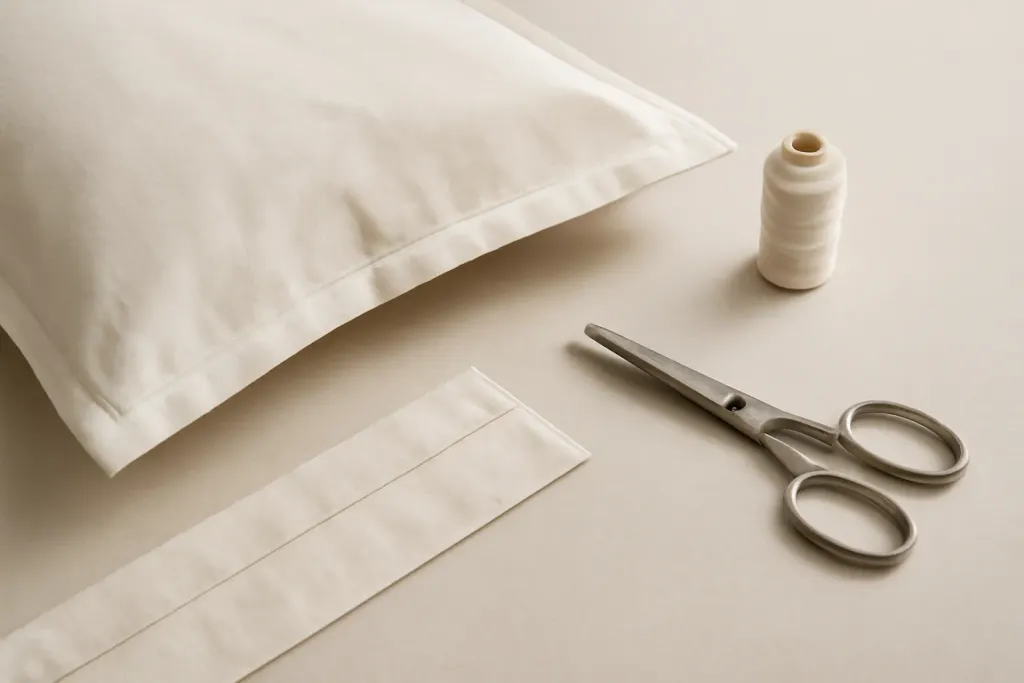
You do not need a long supply list for this project. A standard pillowcase usually comes together with fabric, thread, scissors or a rotary cutter, pins or clips, an iron, and a sewing machine. If you like to press carefully as you sew, a pressing tool such as a seam gauge can also be useful, but it is not required.
For fabric, quilting cotton is one of the easiest choices for a first pillowcase. It presses well, holds a straight seam, and is easy to find in many prints and solids. Linen or cotton-linen blends can also work, though they may feel a little more textured. If you are new to sewing, a smooth medium-weight woven fabric is usually the simplest option.
Thread should be strong enough for regular use and washing. A good all-purpose polyester thread is common for home sewing, though cotton thread can also be used depending on your fabric and preference. For the cleanest finish, choose a thread color that blends well with your fabric or one that intentionally complements the print.
It helps to wash and press your fabric before cutting if your fabric tends to shrink or wrinkle. That way, your finished pillowcase is less likely to change shape after the first laundry cycle.
Cutting the Fabric
To keep the project quick, cut your fabric accurately before you start sewing. The exact measurements depend on the pillow size you want to cover, but the method is the same: you cut one long rectangle, then fold and stitch it into a tube. A standard pillowcase often uses a body section and a shorter cuff or hem section, though the design can be simplified if you want the fastest possible version.
Lay the fabric flat on a cutting surface and smooth out wrinkles. Use a ruler, measuring tape, or quilting ruler to mark straight edges. If you are using a directional print, pay attention to which end will become the opening so the design appears right side up when the pillowcase is finished.
Accuracy at this stage saves time later. Straight edges make it easier to keep seams even, and even seams make French seams look crisp. If your machine tends to pull fabric at the beginning of a seam, starting with a leader scrap or holding the threads gently for the first stitches can help. Check your manual for any guidance specific to your model.
Sewing the First Seam
The first step in a French seam is to sew the fabric pieces with the wrong sides together. This may feel backward if you are used to matching right sides first, but it is what makes the enclosed finish possible. Stitch a narrow seam along the long edge and the side edge, depending on your pattern or pillowcase style.
Use a small, consistent seam allowance. Many sewists like a 1/4-inch seam for the first pass, but your chosen allowance may differ, so check your own machine manual and pattern notes if you have them. The important part is to keep the line straight and even because this seam becomes the guide for the second pass.
Backstitch lightly at the beginning and end if your machine and fabric handle it well, or secure the seam in the way you prefer. Then trim any stray threads. There is no need to overcomplicate this stage. A calm, steady stitch is the goal.
If your fabric shifts while you sew, pins or clips can help. Use enough to keep the layers aligned, but not so many that they slow you down. For beginners, a few carefully placed pins are often easier than trying to manage the whole edge at once.
Browse our recommended products
Our featured picks refresh periodically. While we update them, our editorial guides can help you find the right pick.
See our guidesPress, Trim, and Enclose the Raw Edge
Once the first seam is sewn, press it flat. Pressing is one of the most important parts of making French seams look neat, because it helps the fabric fold cleanly and makes the second seam more accurate. Open the seam gently and press from the wrong side first, then press again according to the method you are using.
Next, trim the seam allowance. This step reduces bulk and allows the raw edge to be fully enclosed inside the second seam. Be careful not to cut into your stitching line. A sharp pair of fabric scissors makes this easier, but any sewing scissors used carefully will do the job.
After trimming, fold the fabric so the right sides are together, enclosing the raw edge inside the fold. Press again. The stitched line should now sit very close to the folded edge. This is the moment when the French seam starts to look polished and professional, even though the sewing itself is still simple.
If your fabric is slippery or frays easily, take an extra minute to smooth the fold before you stitch. That small pause can make a big difference in the final finish.
Sewing the French Seam
Now sew along the folded edge to seal the raw edge inside the seam. This second line of stitching is usually a little wider than the first, often around 3/8 inch or whatever width fully covers the trimmed edge. The exact measurement depends on your fabric thickness and machine settings, so refer to your own manual and test on scraps if you are unsure.
Stitch slowly enough to keep the fold aligned. You want the first seam hidden cleanly inside the second seam. If you sew too close to the edge, the raw edge may peek out. If you sew too far away, the seam may look less tidy. A steady, moderate pace usually gives the best result.
When you reach the end, secure the seam and trim the threads. Turn the pillowcase right side out and check the inside. You should see a neat, enclosed finish with no raw edges exposed. If any edge is a little uneven, you can often correct it with careful pressing rather than ripping out the whole seam.
This is one reason French seams are so satisfying. They look thoughtful and handmade, but they do not require advanced sewing techniques. With a little patience, even a new sewist can achieve a clean interior finish.
Finishing the Opening and Hem
The opening of the pillowcase is where you can add the final bit of personality. Some sewists like a simple narrow hem, while others prefer a cuff or contrast band. If you are aiming to finish in under an hour, a basic hem is often the fastest choice. Fold the edge to the wrong side, press, fold again, and stitch close to the inner fold for a clean finish.
If you want a little decorative interest, you can choose a contrasting thread or a coordinating fabric band. Keep the design simple so it does not slow the project down. A pillowcase with french seams in under an hour should feel approachable, not fussy.
As you finish the opening, make sure the corners are square and the edge lies flat. Pressing again at the end helps the pillowcase look crisp and ready for use. If your machine offers a blind hem, decorative stitch, or edge-stitching foot, check your manual before trying it. But for this project, a straight stitch is usually enough.
Time-Saving Tips and Care
If you want to stay within the hour, set up your tools before you cut fabric. Having your thread wound, iron ready, and scissors nearby makes the process smoother. You can also chain piece if you are making more than one pillowcase, sewing one step on all pieces before moving to the next.
Another helpful habit is to test your stitch on a scrap of the same fabric. This lets you check tension, stitch length, and thread color without risking your project. Because machines and fabrics vary by model and manufacturer, small test stitches are always worth the extra minute.
To care for your finished pillowcase, wash it according to the fabric type you chose. Most cotton pillowcases can be machine washed and dried, but always follow the fabric care instructions that apply to your material. Press it lightly after washing if you want the seams to stay crisp.
Once you make one, you may find yourself making a second or third almost immediately. That is part of the charm of this project: it is simple, useful, and easy to personalize without becoming complicated.