What the Two Waistband Types Are
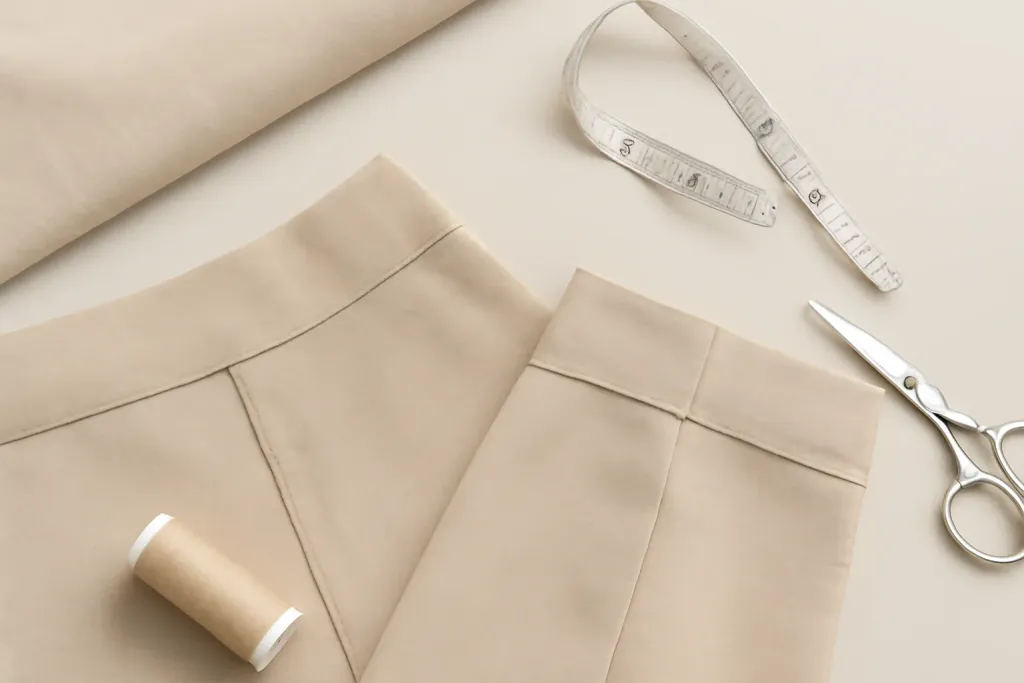
When you compare waistband methods compared contoured vs straight, the biggest difference is shape. A straight waistband is cut as a simple rectangle and is usually folded or joined to create a clean band at the waist. A contoured waistband is shaped with a curve so it follows the body a little more closely, especially around the natural waist and hip area.
Both methods can look neat and professional when sewn carefully. The best choice often depends on the pattern, the fabric, and how much shaping you want at the waist. Beginners sometimes assume the contoured version is always better, but that is not true. A straight waistband can be easier to sew and may feel perfectly comfortable on many garments.
If you are choosing between them, think about the garment first. Pants, skirts, shorts, and woven fabrics can each behave differently. Also remember that every sewing machine and fabric type can vary by model and manufacturer, so always check your own machine’s manual for stitch settings, presser foot guidance, and any recommended adjustments.
Straight Waistband Basics
A straight waistband is the more straightforward option for many home sewists. Its shape is simple, which makes it easier to cut, interface, and sew consistently. Because it does not curve to the body, it is often a good choice when you want a clean finish without extra fitting steps.
One common advantage of a straight waistband is predictability. The grain is easier to keep aligned, and the pieces usually match up with less fuss. This can be helpful for beginners who are still learning how to handle seam allowances, topstitching, and pressing. Straight waistbands are also useful in garments where the waist is not heavily shaped, or where the pattern already provides enough ease.
That said, a straight waistband may not hug the body as closely as a contoured one. On some garments, especially those with a more fitted waist, it can feel a little less molded to the body. Whether that matters depends on the design and the wearer’s preference. If comfort and simplicity are your priorities, a straight waistband may be the best place to start.
Contoured Waistband Basics
A contoured waistband is shaped to follow the waistline more closely. Instead of being cut as a simple rectangle, it has a curve that reflects the body’s shape. This can make the waistband sit more smoothly, especially on garments designed to fit the waist and hips with a little more precision.
Many sewists like contoured waistbands because they can reduce gaping at the back waist and create a nicer profile on fitted skirts or pants. The curved shape can also help the garment feel more secure without needing to pull too tightly. When a pattern calls for a contoured waistband, it is usually because the designer wants the waist area to follow body contours more closely than a straight band would.
Contoured waistbands do require a bit more attention. Cutting and sewing curved edges can feel more challenging at first, and pressing the shape correctly matters. Still, once you understand the steps, this method can be very rewarding. If you are newer to sewing, you do not need to avoid contoured waistbands forever. It just helps to approach them with patience and good pressing habits.
Comfort, Fit, and Appearance
Comfort is often the deciding factor in the waistband methods compared contoured vs straight discussion. A straight waistband is simple and stable, but a contoured waistband may feel more natural on the body. The right answer depends on the garment style and on how the waistband interacts with the wearer’s shape.
For fitted garments, the contoured option can improve fit around the waistline. If you have ever noticed a waistband that stands away from the body at the back or pulls awkwardly at the sides, a contoured shape may help. In contrast, a straight waistband can work very well on styles that are looser or more casual, or when the pattern already includes enough shaping elsewhere.
Appearance matters too. A straight waistband often gives a crisp, traditional look. A contoured waistband can look smoother and more tailored because it follows the body more closely. Neither method is automatically more polished. The final appearance depends on careful cutting, accurate seam allowances, good pressing, and neat topstitching. Those small details often matter more than the waistband shape alone.
Browse our recommended products
Our featured picks refresh periodically. While we update them, our editorial guides can help you find the right pick.
See our guidesDifficulty and Beginner Friendliness
For many beginners, the straight waistband is the friendlier starting point. Its simple shape means fewer chances to get confused during cutting and construction. If you are still building confidence with sewing straight seams, aligning notches, and pressing evenly, the straight method can help you practice those skills without adding curve handling right away.
The contoured waistband is not difficult in an absolute sense, but it does ask for more precision. Curves can stretch if you are not careful, and layered pieces can shift during stitching. Accurate pinning or clipping, steady sewing, and careful pressing all become more important. Beginners can absolutely sew a contoured waistband successfully, but it may help to try one after you have completed a few simpler waistbands first.
As with any project, your machine settings and results can vary depending on the model and manufacturer, so use your own machine manual as your main guide. If your manual recommends a specific presser foot, stitch length, or pressing technique for a particular fabric, follow that advice. Good information from your machine maker can make either waistband method much easier.
Fabric and Garment Considerations
Fabric choice plays a big role in choosing between these waistband methods. Stiffer woven fabrics often hold a straight waistband well, especially on garments with a crisp silhouette. If the fabric has little stretch and the pattern is not highly fitted, a straight waistband can be efficient and reliable.
More fluid fabrics, or garments that need closer shaping at the waist, may benefit from a contoured waistband. The curve can help the waistband follow the body without extra bulk. This is especially useful when sewing pants or skirts that need a cleaner transition from waist to hip. However, if your fabric is very lightweight or slippery, handling a contoured shape may take extra care during cutting, sewing, and pressing.
The garment itself should guide you. A casual skirt with elastic or ease at the waist might not need the extra shaping of a contoured band. A fitted pencil skirt or tailored trouser may gain a better fit from a contoured shape. In many patterns, the designer has already chosen the waistband type for a reason, so following the pattern first is usually the safest and easiest route for a beginner.
How to Choose Between Them
If you are deciding between a straight and contoured waistband, start with the pattern recommendation. Pattern companies usually choose the waistband style that best suits the garment design. If you are making a pattern alteration or drafting your own piece, think about the following questions.
- Do you want the simplest possible construction? A straight waistband is often easiest.
- Is the garment fitted at the waist and hips? A contoured waistband may improve shape and comfort.
- Are you sewing a fabric that is easy to handle? Straight bands are usually more forgiving.
- Do you want a smoother fit against the body? Contoured bands often help there.
- Are you still learning waistband construction? Start with straight, then try contoured when you feel ready.
It can also help to think about what you will wear most often. If the garment is for everyday use, comfort and ease of sewing may matter more than a highly tailored finish. If the piece is meant to look especially clean and fitted, the contoured version may be worth the extra steps.
Sewing Tips That Help Both Methods
Even though the shapes differ, many good sewing habits apply to both waistband methods. Press the waistband pieces carefully before and after stitching. Pressing helps seams sit flat and makes the finished waistband look more accurate. It is also helpful to trim and grade seam allowances where appropriate, especially if your fabric is bulky.
Stay consistent with seam allowances so the waistband matches the garment exactly. This sounds simple, but it makes a big difference in how the waistband sits when finished. If your pattern includes interfacing, choose the type suggested by the pattern and test it on a scrap first if possible. Interfacing can add support, but too much stiffness may make the waistband uncomfortable.
Take your time when attaching the waistband to the garment. Match notches, align centers, and check that the waistband is not twisted before sewing. If you are topstitching, use a stitch length and thread choice that suits your fabric and your machine. Because machines and fabrics vary by model and manufacturer, your manual should always be the first place to check for machine-specific guidance. Avoid any internal machine repair or electrical troubleshooting that is not clearly covered in the manual.