Why Sleeves Pucker and Tuck
Setting in sleeves without tucks or puckers can feel intimidating at first, but the problem usually comes down to a few fixable details. The sleeve cap has more curve than the armhole, so one shape must fit into another smoothly. When fabric is fed unevenly, clipped incorrectly, or pressed carelessly, the result can be tiny folds, ripples, or gathered spots where you wanted a clean finish.
The good news is that a smooth sleeve starts with preparation. Fabric, pattern, and stitching method all work together. Even if your machine behaves differently from someone else’s, the basic goals stay the same: match the notches, control the easing, stitch consistently, and press carefully. Always check your machine’s manual for stitch settings, presser foot guidance, and any features that may help with your specific model.
It also helps to know that not every pucker means disaster. Sometimes the fabric itself is the challenge. Lightweight cotton, slippery synthetics, wool blends, and knits each respond differently. A beginner-friendly approach is to slow down, test on scraps, and build confidence one step at a time.
Choose the Right Fabric and Tools
Before you sew, make sure your fabric is ready to cooperate. Press it flat if needed, because wrinkles can distort the shape and make the sleeve cap harder to match accurately. If your pattern recommends prewashing, follow the pattern instructions. Prewashing can change shrinkage and drape, which affects how a sleeve settles into the armhole.
Useful tools for setting in sleeves without tucks or puckers include:
- Sharp sewing pins or fine clips
- A steam iron you know how to use safely
- Tailor’s ham or sleeve roll, if available
- Matching thread for your fabric weight
- Fabric marker or chalk for notches and easing points
If your machine offers multiple presser feet or stitch options, consult the manual before trying them. Some machines handle a shorter stitch length or a different foot better than others. A beginner can get far with a standard straight stitch, steady hands, and patient pressing.
Choose needles and thread that suit the fabric. A dull or unsuitable needle can leave tiny holes, drag the cloth, or create uneven stitching that shows up as a pucker later. If you are unsure, use your machine manual and pattern guide as the first references, then test on scraps before sewing the actual garment.
Prepare the Sleeve and Armhole
Careful preparation makes the final seam much easier. Start by transferring all pattern markings clearly: notches, centers, dots, and any easing marks. These markings are your map. Without them, it is easy to shift the sleeve cap out of position and create tension where the fabric should lie smoothly.
Stay stitch any curved edges if your pattern recommends it. Stay stitching can help prevent stretching, especially on armholes cut on the bias or made from fabrics that relax easily. This small step often makes a noticeable difference when setting in sleeves without tucks or puckers.
Next, check both pieces for symmetry. Sleeve pieces sometimes get flipped or matched unevenly, and that can cause a subtle twist. Lay the garment front and back flat, identify the right side of the sleeve, and make sure the sleeve cap is oriented correctly before you start pinning. If the pattern includes front and back sleeve notches, use them exactly as directed.
It can help to gently press the seam allowances of the sleeve and armhole before assembly, but do not flatten the shape out of the pieces. You want enough structure to guide the stitching, while preserving the curve that lets the sleeve sit comfortably.
Understand Easing Without Gathering
Easing is the heart of setting in sleeves without tucks or puckers. Easing means distributing a small amount of extra sleeve cap length into the armhole area without forming visible gathers. That is different from gathering, which deliberately creates fullness. With easing, the fullness is controlled and subtle.
A beginner-friendly method is to first match all major points: the underarm seam, the shoulder point or sleeve cap marking, and any notches. Then distribute the remaining fabric evenly between those anchors. Use enough pins to hold the curve, but not so many that the fabric becomes hard to shape. Small adjustments between pins are easier than trying to force the entire curve into place at once.
Some sewists like to use two rows of long basting stitches within the seam allowance to help ease the sleeve cap before the final stitch. If you try this, keep the stitches inside the seam allowance and avoid pulling so hard that you accidentally create gathers. The basting thread should help guide the shape, not gather the fabric into ruffles.
Remember that different fabrics need different amounts of handling. A crisp cotton may ease with almost no drama, while a silky or slightly slippery fabric may need more pins and more careful pinning direction. The goal is always a smooth transition, not a stretched or distorted seam.
Pin and Baste Carefully
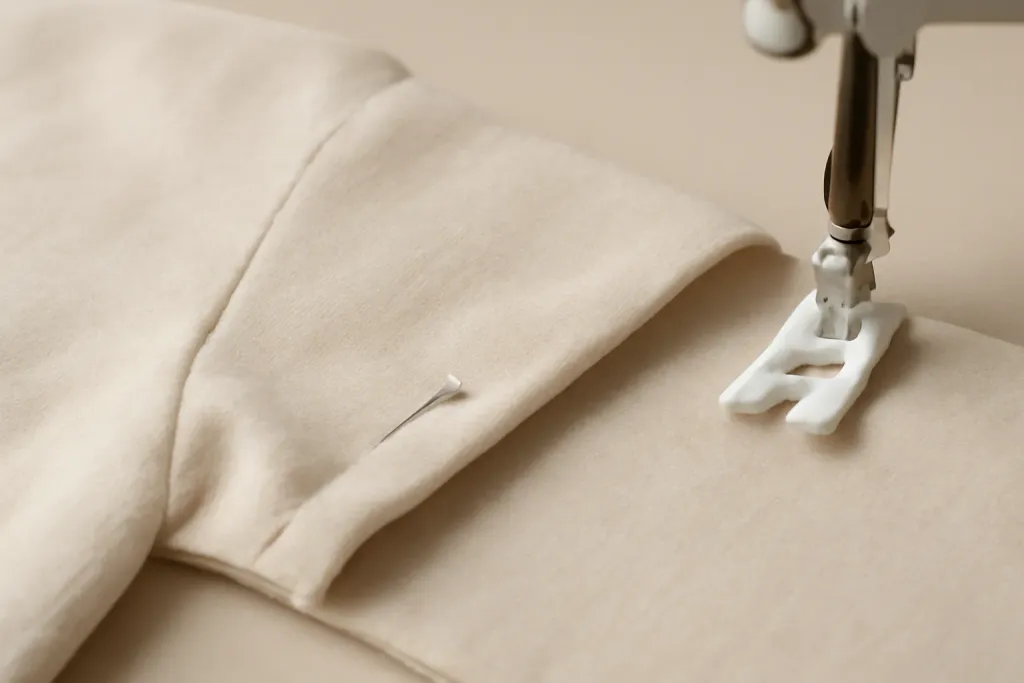
Pinning is where many puckers are prevented. Begin by placing the notches together and pinning the underarm seam and sleeve cap anchors first. Then divide the remaining curve into smaller sections. This gives you control over the fit and helps spread the ease evenly. Pins should sit perpendicular to the seam line if that helps you keep the fabric aligned.
If your fabric is very slippery or the curve is especially challenging, hand basting can be a lifesaver. Basting gives you a chance to see the sleeve in place before permanent stitching locks everything down. It is slower, but beginners often find it reassuring because it lets them correct small shifts early.
When pinning, keep the fabric relaxed. Do not stretch the armhole or the sleeve cap while matching them. Stretching one side can cause the other side to ripple when the garment is worn. If the sleeve cap seems too large at first, resist the urge to force it. Check your pattern markings, confirm the pieces are matched correctly, and ease the fullness in small steps.
Try to inspect the pinned sleeve from both the right side and the wrong side. Sometimes a hidden fold shows up only when you flip the garment over. Catching it before stitching saves time and reduces frustration.
Browse our recommended products
Our featured picks refresh periodically. While we update them, our editorial guides can help you find the right pick.
See our guidesStitch With Control
When you are ready to sew, use a steady pace and keep the pinned ease under control. Sew with the sleeve side up if that helps you guide the fullness better, especially around the curve. Some sewists prefer the sleeve against the feed dogs; others prefer the garment body. Your machine’s behavior may differ, so test on scraps and follow the guidance in your manual.
Use the seam allowance specified by your pattern and keep it consistent. A wandering seam allowance can make the sleeve look uneven even if the easing itself was handled well. Stitch slowly through the most curved section, pausing only if needed to smooth the fabric ahead of the needle. Do not yank the fabric from behind, which can stretch the seam and cause puckers.
If your machine has adjustable stitch length, a slightly shorter stitch can give you more control on curved seams. That said, there is no single setting that works for every machine or fabric. Check your manual and make a quick practice seam first. The best setting is the one that gives you balanced stitches without distorting the cloth.
After stitching, remove the pins carefully and inspect the seam before pressing. If you spot a minor ripple, sometimes a gentle unsewing and resewing of that section is better than pressing it flat and hoping it disappears. It is easier to fix a small section now than to accept a puckered sleeve later.
Press for a Smooth Finish
Pressing is where a good sleeve starts to look truly professional, even on a beginner project. Press the seam first as sewn, then press it open or toward the pattern direction if instructed. Use the iron to shape the seam rather than iron aggressively back and forth. That motion can stretch the curve and make new puckers.
A tailor’s ham or sleeve roll can help preserve the sleeve shape while pressing. If you have one, support the curve so the fabric does not flatten into an unnatural angle. Press from the wrong side when possible, then finish with a light touch on the right side if needed. Let the fabric cool before moving it, because cooling helps the shape set.
Steam can be useful, but use it carefully according to your fabric and machine manual. Some fabrics respond beautifully to steam, while others can become shiny or distorted. Always test on scraps first. Pressing is not about forcing the cloth into submission; it is about encouraging the seam into a smooth, stable shape.
If the sleeve still shows a slight fullness after pressing, step back and look at the fit in context. A tiny bit of natural ease is normal, especially in tailored garments. The aim is not a perfectly flat, rigid curve, but a clean sleeve cap that looks intentional and comfortable.
Troubleshoot Common Mistakes
If the sleeve head shows tucks, check that you matched notches and eased the cap evenly before stitching. A sleeve that’s sewn too fast or without enough pins can shift and pucker, so slow down and use plenty of support. If the fabric still bubbles, loosen the tension slightly and re-test on scraps, since machines vary by model and manufacturer. Keep the sleeve cap smooth, stitch with the fuller side down when needed, and press gently after sewing. When in doubt, consult your machine manual for the best settings.
Practice and Build Confidence
Learning setting in sleeves without tucks or puckers is a skill, not a test you either pass or fail. Each sleeve you sew teaches you a little more about your fabric, your machine, and your own hand. The more you practice matching curves, the more natural easing will feel.
A simple way to improve is to sew a practice sleeve cap on scrap fabric. Use the same fabric type, thread, and needle you plan to use in your project. Practice pinning, stitching, and pressing on the sample first. This lowers the pressure on the real garment and helps you notice problems before they matter.
Try to keep your expectations realistic. Even experienced sewists sometimes adjust a sleeve after the first attempt. The difference is that they know what to look for and how to correct it calmly. If you approach the process with patience, the sleeve will gradually start to cooperate.
In the end, a smooth sleeve is a blend of preparation, easing, stitching, and pressing. Once those pieces come together, the finish can look much more polished than you might expect. Keep your machine manual nearby, take your time, and give yourself credit for learning a genuinely useful sewing skill.