Why Seam Ripping Does Not Have to Be a Disaster
If you have ever unpicked a stitch line and ended up with a snagged thread, a tiny hole, or a stretched seam, you are not alone. Seam ripping can feel intimidating, especially when you are working on fabric you love. The encouraging news is that seam ripping without damage yes its possible when you slow down, use the right tool, and match your approach to the fabric.
A seam ripper is designed to do one job: cut stitches, not fabric. Most damage happens when we rush, pull too hard, or use a dull tool. Sometimes the fabric itself is delicate, loosely woven, or slippery, which means it needs extra care. The good habit to build is simple: stop often, look closely, and let the ripper do the cutting rather than forcing the seam apart.
Before you begin, check your sewing machine manual if your project involves removing stitches near a finished edge or if you need to understand how your machine handles seam construction. Every machine model and manufacturer is different, so it is always wise to follow the manual for maintenance, stitch settings, and safe operation. This article focuses on safe hand unpicking techniques, not internal machine repair.
Choose the Right Tool and Set Up Your Workspace
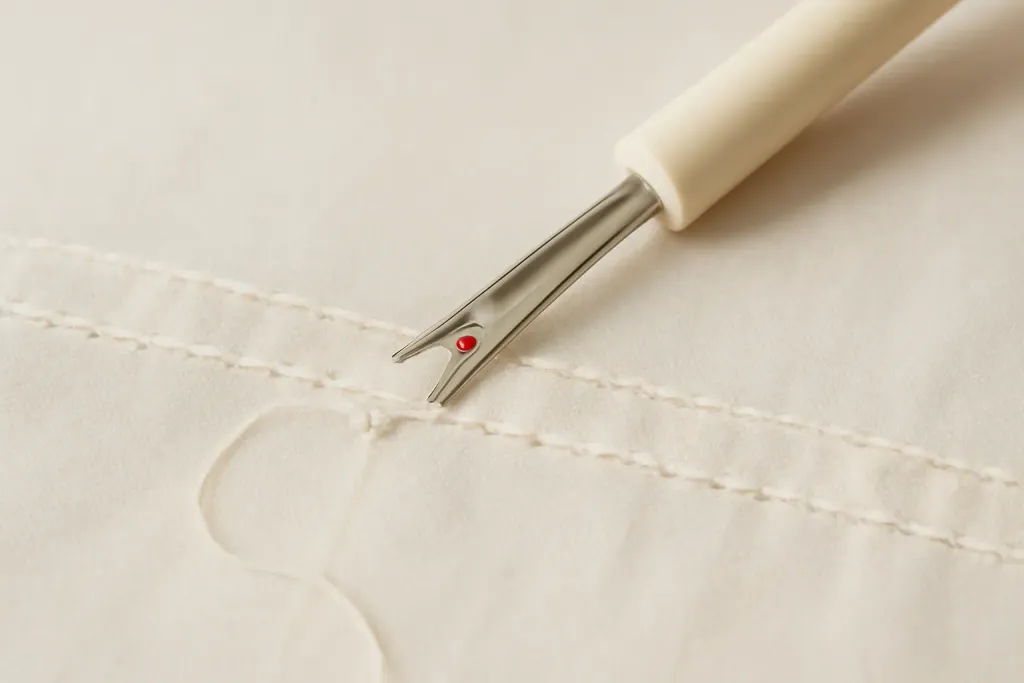
A sharp seam ripper makes a big difference. Many sewists keep a small one in a notions pouch and a larger one at the sewing table. The pointed tip helps slide under stitches, while the rounded ball protects the fabric by keeping the blade from digging too deeply. If your ripper feels like it is catching or dragging, it may simply be dull and ready for replacement.
Good lighting matters just as much as the tool itself. Set up near a bright lamp or natural light so you can see the thread path clearly. A magnifying lamp is optional, but even a simple desk lamp can reduce mistakes. Keep a small brush, lint roller, or piece of tape nearby to remove stray thread bits as you go.
It also helps to work on a stable surface. Place the fabric flat on a table instead of holding it in the air. This gives you better control and lowers the chance of accidentally stretching the cloth. If the project is large, roll the excess fabric so only the seam area sits under your hands. That keeps everything neat and easier to manage.
The Gentlest Way to Unpick a Seam
Start by turning the fabric so you can clearly see the stitching line. If possible, remove any topstitching or visible finishing stitches in the same careful way. Slide the tip of the seam ripper under one stitch and lift just enough to catch the thread. Then cut only that thread. Repeat slowly, moving stitch by stitch if needed.
For a longer seam, many sewists prefer the pick-and-pull method. Cut every third or fourth stitch on one side of the seam, then gently pull the thread tail from the opposite side. The stitches will open without much force. This can be faster than cutting every stitch, but it still requires patience. If the thread resists, stop and cut a few more stitches rather than tugging harder.
Once a section opens, use your fingers to separate the fabric layers carefully. Avoid yanking the seam apart all at once. Instead, let the stitches release in small sections. If you are working with a garment, you may want to unpick only the area you truly need and leave the rest untouched. The less handling, the less chance of distortion.
Fabric-Specific Cautions for Delicate and Tricky Materials
Not every fabric responds the same way to seam ripping. Woven cotton is usually forgiving, but delicate fabrics such as silk, chiffon, organza, voile, or loosely woven linens can snag easily. Knits add another challenge because their loops can ladder if you cut the wrong thread or pull too fast. For these materials, use the smallest controlled movements possible.
On slippery fabrics, place a piece of tissue paper or a clean cotton cloth under the seam area to help steady the layers. Do not press so hard that you imprint the fabric. For pile fabrics such as velvet or corduroy, be extra careful to protect the nap. Brush the pile in one direction as you work so the surface looks consistent when you are done.
Some fabrics also show needle holes more easily than others. If you are unpicking stitches in a visible area, try to avoid repeatedly working the same spot. The more you open and close a seam, the more the fabric may show stress. When possible, unpick once, then resew once. If you are unsure how your fabric will react, test on a scrap first.
Browse our recommended products
Our featured picks refresh periodically. While we update them, our editorial guides can help you find the right pick.
See our guidesHow to Prevent Holes, Snags, and Stretching
The biggest secret to seam ripping without damage is keeping tension low. Hold the fabric just enough to steady it, but not so tightly that it stretches. Let the seam ripper cut the thread rather than using your hands to tear the seam open. If a thread does not release easily, go back and cut another stitch instead of pulling.
Work in short sections. This gives you more control and helps you notice problems early. If you see a tiny snag, stop immediately and smooth the fabric with your fingers. Sometimes a snag is only a loose thread loop that can be eased back into place. If a thread tail is left behind, trim it neatly instead of jerking it free.
A clean workspace also helps protect the fabric. Remove pins as you approach them, and keep them in a magnetic dish or pin cushion so they do not get in the way. If the project was recently pressed, allow it to cool fully before unpicking, since warm fibers can be more easily distorted. When in doubt, take a pause. A minute of patience can save a favorite garment or project piece.
What to Do After the Stitches Are Out
After the seam is removed, inspect the fabric closely. Look for thread marks, tiny holes, or uneven edges. Many light impressions will relax after pressing, but do not rush to iron immediately. First, brush away thread fragments and lay the fabric flat so you can see the true shape of the area.
If the seam line is slightly wavy, gently reshape it with your fingers. For woven fabrics, a light press with the correct heat setting and pressing cloth may help the fabric settle. Always check your own fabric care instructions before applying heat, because some materials need low temperatures or no direct iron contact at all. For knit fabrics, steaming can sometimes be more forgiving than heavy pressing, but use only the settings that are appropriate for the material.
If the fabric has visible holes, try not to scrub or overpress them. Some tiny holes reduce after the fabric rests and the fibers relax. Others may remain slightly visible, especially in delicate or tightly woven textiles. A careful resew along the same line, with attention to matching the original seam allowance, often helps the finished project look much cleaner.
When to Stop and Rethink the Job
Sometimes the best seam ripping decision is to stop. If a seam is under stress, the fabric is fraying badly, or the stitches are buried too deeply to remove safely, forcing the issue can make the problem worse. In those cases, reassess the repair and decide whether a different seam line, a smaller area, or a fresh piece of fabric would give a better result.
It is also worth pausing if the seam ripper starts catching on the cloth repeatedly. That may mean the blade is dull, the seam allowance is too tight, or the fabric structure is too fragile for the current method. Swapping tools or changing your angle may solve the issue, but never press ahead with heavy force. Gentle control is the goal.
For machine-related concerns, such as thread jams, unusual sounds, or tension issues, consult your machine manual before doing anything else. Every machine is different, and it is not safe to guess about internal mechanisms. Follow the manufacturer’s guidance for cleaning, thread path setup, and routine care. This keeps your machine working properly while you focus on the hand skills that help protect your fabric.
Simple Habits That Make It Easier Next Time
Once you have seam ripped a few times without damage, you will notice patterns. Slow is usually faster in the end because it reduces mistakes. Good lighting, a sharp seam ripper, and a flat workspace matter more than most beginners expect. A calm, steady rhythm also helps your hands learn how much pressure is enough.
It can be useful to keep a tiny sewing kit dedicated to unpicking: a seam ripper, a few pins, small scissors, a lint brush, and a scrap cloth for testing. Store the seam ripper with its tip covered if possible, so it stays sharp and does not damage other tools in your kit. When a project feels especially delicate, remind yourself that you do not need to finish it in one sitting.
The most important takeaway is that seam ripping without damage yes its possible, and it is a skill you can build. You do not need perfect hands or professional experience. You only need a careful method, a little patience, and respect for the fabric in front of you. With practice, unpicking becomes less stressful and much more manageable.