Pressing vs. Ironing: The Core Difference
If you are new to sewing, it is easy to treat pressing and ironing as the same thing. Both use a warm iron and a pressing surface, and both can make fabric look smoother. In sewing, though, the difference matters. The phrase pressing vs ironing why it matters and how to do it right comes down to a simple idea: ironing smooths, while pressing shapes.
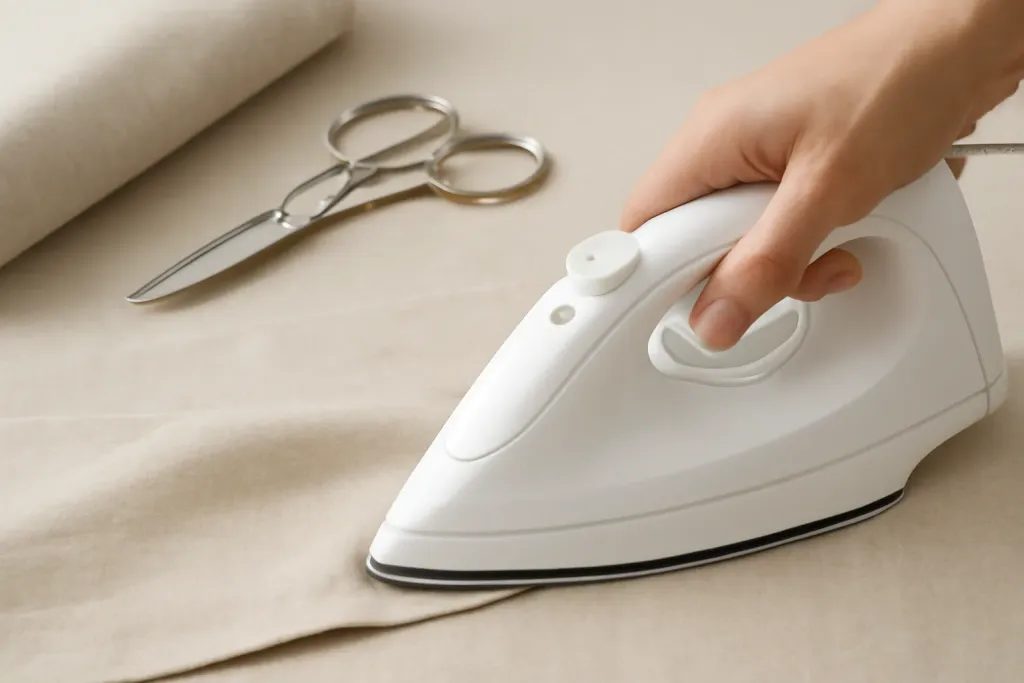
Ironing usually means moving the iron back and forth across fabric to remove wrinkles from a larger area. That motion is great for laundry, but in sewing it can stretch seams, distort edges, and change the shape of a piece. Pressing is gentler and more intentional. You place the iron down, apply heat, then lift it up again without sliding unless the fabric truly allows it.
Think of pressing as a construction tool and ironing as a finishing tool. Pressing supports each step of the sewing process, while ironing is often used at the end for a polished look. When you use the right technique at the right time, seams line up more cleanly, curves behave better, and the finished work often looks more professional without requiring advanced skills.
It is still fine to iron a wrinkled piece of fabric before cutting it. Prewashing and pressing fabric before sewing are both common steps, and the best approach depends on the fabric type and project goals. Always check the fabric care needs, and when in doubt, follow your pattern instructions and your iron or machine manual if steam or special settings are involved.
Why Pressing Matters in Sewing
Pressing sets stitches, flattens seams, and gives garments a cleaner shape. It helps curves, darts, and hems lie smoothly, and it reduces bulky or twisted seams. For beginners, this small step can noticeably improve fit and finish. Good pressing is one of the simplest ways to make sewing look more polished.
When to Press and When to Iron
Knowing when to press and when to iron can save time and prevent frustration. A practical rule is this: press while you sew, iron when you want a smooth final finish. That is helpful, but there are exceptions, and the fabric should guide your choice.
Pressing is especially useful after cutting pieces, to remove fold lines and help shapes lie flat; after sewing a seam, before you move on; after adding darts, pleats, or tucks, to shape the fabric cleanly; when setting collars, cuffs, facings, or hems; and when sewing curves, so the fabric can be shaped without distortion.
Ironing is more likely to be useful when you are smoothing a garment after construction, pressing a large flat fabric area that is not being shaped, or removing storage wrinkles before layout or cutting.
Some tasks combine both ideas. For example, you might iron cotton before cutting, press each seam during assembly, and then give the finished item a light overall press. That sequence uses both tools in their best roles.
If you are unsure, pause and compare the fabric against the pattern instructions. Some projects call for pressing seam allowances open, while others recommend pressing them to one side. Those instructions are there for a reason, and they often reflect how the designer expected the piece to behave.
How to Press Correctly
Good pressing is less about force and more about patience. Start with a clean iron and a stable pressing surface. Make sure your board or mat is appropriate for your setup, and use steam or temperature features only as recommended by the manufacturer. If your iron has special settings, check the manual before using them on a new fabric.
To press correctly, place the iron on the fabric, let the heat do its work, and lift it straight up. Avoid sliding unless you are intentionally smoothing a large stable area and your fabric can tolerate it. Pressing cloths can be useful for delicate materials, printed fabrics, or surfaces that might shine with direct heat. A pressing cloth is a protective layer between the iron and the fabric, and it can offer more control.
It also helps to use your hands in support. After sewing a seam, finger-press it open or to one side first if the fabric allows it, then finish with the iron. That small step often makes the final press cleaner and more accurate. For curved seams, clipping or trimming seam allowances before pressing can help the fabric lay smoothly, but be careful not to cut through stitches.
Steam can be useful, but not every fabric likes it. Some textiles flatten beautifully with steam, while others may stain, ripple, or lose shape. Test on a scrap if possible, especially with specialty fabrics or blends. If your iron, board, or fabric setup has any specific warnings, follow those instructions before trying something new.
A calm pace is the real secret. Press one section, lift, reposition, and press again. This method may feel slower at first, but it often saves time later because you do not have to fix stretched seams or reshaped pieces.
Browse our recommended products
Our featured picks refresh periodically. While we update them, our editorial guides can help you find the right pick.
See our guidesCommon Beginner Mistakes to Avoid
Most sewing beginners make a few pressing mistakes early on, and that is completely normal. The good news is that many are easy to correct once you know what to look for. Learning these habits can make a bigger difference than changing to a more expensive iron or machine.
One common mistake is dragging the iron across a seam as though it were laundry. That motion can stretch fabric, especially along curves or bias edges. Another issue is pressing too hard. Pressure is not the same as heat, and stronger force does not usually make fabric lie flatter. In many cases, it makes distortion worse.
Other frequent mistakes include skipping pressing entirely and trying to fix everything at the end; using too much steam on a fabric that does not respond well to it; ignoring the grain of the fabric and pulling it out of shape; pressing over stitches before they have fully settled; and not checking whether seam allowances should be pressed open or to one side.
Another easy mistake is forgetting that different layers can behave differently. A cotton outer layer, for example, may press very differently from a lining or interfacing. If your project includes multiple fabric types, test small sections and work step by step. What looks like a pressing problem is sometimes really a fabric-compatibility issue.
Finally, do not assume that a higher heat setting is always better. Follow the care instructions for your fabric, and use the lowest effective setting whenever possible. If you are uncertain, test on a scrap or hidden area first. This is especially important for delicate synthetics, textured fabrics, and anything with a special finish.
Pressing Tools and Setup That Help
A basic pressing setup starts with a steam iron, a stable board, and a good pressing cloth for delicate or textured fabrics. A tailor’s ham helps shape curves, while a seam roll supports sleeves and pant legs. Use a sleeve board for narrow areas. Always check your machine and iron manuals, and match heat and steam to the fabric.
Fabric-Specific Tips for Better Results
Fabric type has a huge influence on pressing results. What works beautifully on cotton may damage silk, and what helps wool may not suit a synthetic knit. That is why there is no one-size-fits-all rule for pressing vs ironing why it matters and how to do it right. The technique matters, but the fabric matters just as much.
Cotton and linen are often more forgiving, though they can still stretch if handled roughly. Press with enough heat to smooth the fabric, but avoid overworking the area. Wool often benefits from press-and-lift movement and sometimes steam, but only if the material tolerates it. Delicate fibers and synthetic blends usually need lower heat and extra caution. Knits can be especially tricky because they may stretch out of shape if dragged or overhandled.
For textured fabrics, keep in mind that pressing can flatten the texture if you use too much heat or pressure. That may be fine in some seams, but it can also change the appearance of the fabric. On pile fabrics, velvet-like materials, or fabrics with a nap, the direction of pressing may matter as much as the heat itself. Always test before pressing visible areas.
Interfacing, facings, and stabilizers can also change the behavior of a fabric. These layers may need different heat or pressure than the main fabric. If a project uses interfacing, follow the product directions and confirm that your iron setting is appropriate for the whole sandwich of materials, not just the outer cloth.
When a fabric is unfamiliar, make a small test swatch first if you can. That tiny sample can tell you how much heat, steam, and pressure the fabric can handle. A little testing saves a lot of guessing, especially when the material is expensive or hard to replace.
Building a Better Sewing Habit
The best pressing habits are the ones you can repeat without overthinking. If you are just getting started, aim for consistency rather than perfection. Press each seam as you sew, use the correct side of the seam allowance for the pattern, and keep your iron settings matched to the fabric. Those small habits add up quickly.
It can also help to slow down around important construction points. Collars, cuffs, hems, waistlines, and curved seams often benefit from an extra moment of pressing before you move on. Even if a project is simple, these pauses can improve the final look and make sewing feel less stressful. Pressing is not a chore added to sewing; it is part of making the sewing work well.
If you are building confidence, start with a practice project in a stable fabric such as quilting cotton. That gives you a chance to learn how your iron behaves, how quickly the fabric responds, and how much pressure is enough. Then, when you move to trickier materials, you will already have a feel for the process.
Most importantly, remember that your goal is not to impress the iron. Your goal is to support the fabric. When you press with care, the project usually looks better, fits together more smoothly, and feels easier to finish. If something is not working as expected, revisit the pattern instructions, your fabric care label, and your machine or iron manual before trying a different approach.
Pressing is a small skill with a big payoff. Once it becomes a regular part of your sewing routine, you will likely notice cleaner seams, better shape, and fewer frustrating do-overs.