What Darts Do and Why Marking Matters
Darts are a simple way to shape a garment so it follows the body instead of hanging flat. A dart removes a small wedge of fabric and turns it into gentle contour at the bust, waist, shoulder, or back. When darts are placed well, handmade clothing looks cleaner, fits more comfortably, and has a more polished finish.
For beginners, the hardest part is often not sewing the dart, but marking it accurately before stitching begins. That is where perfect darts marking sewing and pressing starts: with careful preparation. If the markings are off, the stitching will be off too, and the finished shape may twist or sit unevenly. A few extra minutes here usually save much more time later.
Before you begin, make sure your pattern is the correct size and that you understand which dart you are working on. Some patterns use single-point darts, while others use double-pointed darts or several small darts for shaping. Read your pattern instructions closely, and always check your own machine’s manual for any stitch settings or presser-foot guidance that may be relevant to your model.
Fabric behavior also changes a lot from one material to another. Woven cotton, linen, rayon, wool, and silk each behave differently, and stretchy fabrics need extra care. The same marking or pressing method may not work equally well for every fabric, so a small test on scraps is a smart habit.
Tools and Prep for Accurate Dart Marking
You do not need many specialty tools to mark darts well. A few reliable basics usually work better than a crowded sewing box. Common helpers include dressmaker’s chalk, a fine fabric marker made for sewing, pins, a ruler, a clear quilting ruler, tracing wheel and paper if your pattern allows it, and tailor’s tacks for more delicate fabrics. The best tool depends on your fabric and on how visible you want the marks to be.
Before marking, press the fabric flat so it lies smoothly on the table. Wrinkles can distort dart points and shift the grain. If the fabric has been prewashed, let it dry fully and press it again. Keep the grainline straight while laying out the pattern pieces, because a misaligned grain can make darts look uneven even if the stitching is correct.
Transfer all dart markings carefully. That usually means dart legs, dart point, notches, and any center line or fold line shown on the pattern. Mark both dart legs on the wrong side of the fabric if your pattern suggests it. If your fabric is dark, textured, or delicate, choose a marking method that shows clearly without crushing the fibers. Always test your chosen marker on a scrap first to make sure it removes or disappears as expected.
It can help to mark one dart at a time instead of trying to do every dart on a garment in one session. This keeps the lines tidy and reduces confusion, especially if the pattern includes several shaping areas. A steady pace is more useful than rushing.
How to Mark Darts Neatly
Clean dart marking begins with understanding the pattern symbols. Most dart legs are two straight lines that taper toward a point. The point is where the dart ends, and the lines are where the stitching will begin and stop. If the pattern uses a fold-to-fold dart, you may see one center line instead of two stitched lines. Follow the pattern directions exactly rather than guessing, because the construction method can vary.
One reliable method is to fold the dart along its center line, matching the legs carefully, and then transfer the points and notches. This works well when the pattern includes a fold line. Another common method is to place pins through the marked dart points and then mark the legs on the wrong side using chalk or a marker. For thicker fabrics, tailor’s tacks can be more precise than chalk because they stay visible without rubbing away.
When marking the dart point, be careful not to extend the line too far past the point. Dart stitching generally tapers to nothing before the point rather than ending in a sharp pivot. A long, obvious point can create a puckered tip. In most cases, it is better to stop stitching slightly before the exact point and ease into the taper smoothly.
If two dart legs do not seem perfectly even, stop and recheck the pattern placement before sewing. Small marking mistakes become more noticeable once stitched and pressed. Good marking is not about speed; it is about clarity and consistency. The more legible the marks, the easier the sewing stage becomes.
Pinning and Stitching the Dart
With your dart lines marked, fold the fabric right sides together so the markings match exactly. Pin along the dart to keep the fabric from shifting, placing pins across the dart rather than parallel to it if that feels easier to control. You should be able to see the stitching line clearly as you sew.
Start stitching at the wide end and sew toward the point, following your marked line. Keep the seam smooth and don’t backstitch at the point; instead, leave long thread tails and tie them off by hand for a neat finish. If your machine behaves differently or your fabric needs a different approach, check your machine manual and test on scraps first.
After stitching, press the dart flat as sewn before pressing it in the direction your pattern calls for.
Browse our recommended products
Our featured picks refresh periodically. While we update them, our editorial guides can help you find the right pick.
See our guidesPressing Darts for a Smooth Shape
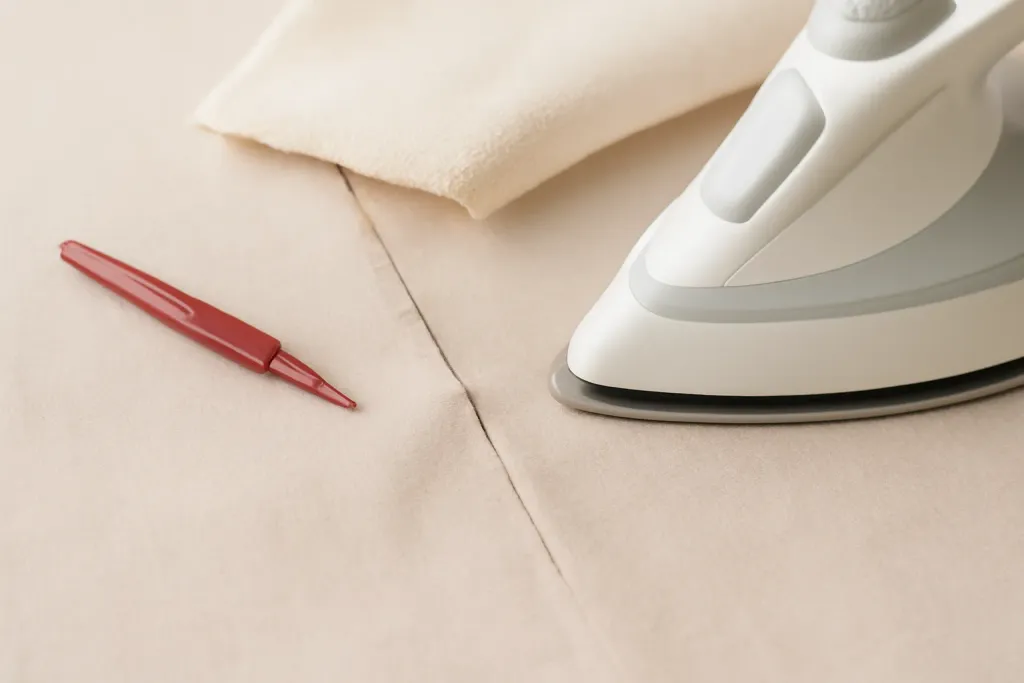
Pressing is what helps a dart blend into the garment instead of standing out. First, press the dart flat as sewn to set the stitches. Then press it in the direction specified by your pattern. For many vertical darts, that means toward the center or down, but pattern instructions should always guide you.
Use the tip of your iron and a pressing cloth if needed so the fabric keeps its shape and texture. A tailor’s ham or similar shaping tool can help curved areas hold a smooth contour. Let the fabric cool before moving it so the dart keeps its finished shape.
If your fabric is delicate, bulky, or heat-sensitive, follow the care instructions and your machine or iron manual for the safest pressing method.
Common Dart Mistakes and Easy Fixes
One of the most common dart problems is uneven marking. If one leg is longer than the other, the dart may twist or point in the wrong direction. The fix is usually to re-mark before sewing rather than trying to force the stitch line into place. Another frequent issue is a visible bump at the dart point, which can come from sewing too far into the tip or backstitching at the end. Leaving thread tails and stopping gradually usually gives a cleaner result.
Bulky dart ends can also happen when the fabric is thick. In that case, trimming the seam allowance carefully and pressing the dart over a ham may help the layers settle. Be cautious, though, and trim only as much as your pattern and fabric can handle. Some fabrics fray easily and need a wider allowance left intact.
If the dart creates a bubble or ridge on the right side, check whether the fabric was pressed flat before marking. A distorted layout can make the dart sit oddly even if the stitching was accurate. Also check whether the dart point is placed too high or too low for the intended shaping. Pattern placement matters just as much as stitch quality.
When a dart seems too pointed, you may need to blend the tip more gradually next time or adjust the pattern slightly. Small pattern refinements are a normal part of sewing. The goal is not perfection on the first attempt, but steady improvement with each garment you make.
Special Fabric Notes for Better Results
Different fabrics ask for different levels of care, and that is especially true with darts. On lightweight cotton or linen, marking and stitching are usually straightforward, but the fabric may crease easily during pressing. On silk, rayon, and other drapey fabrics, markings should be gentle and removable, and the iron should be handled with extra caution. On thicker wool or denim, the challenge is often bulk, so pressing tools and seam reduction become more important.
Knits are a special case. Many knit garments use shaping methods other than traditional woven darts, or they use darts only in certain designs. If your pattern includes darts in a knit fabric, follow the pattern directions carefully and use a stitch and needle suitable for knits. Because machines, presser feet, and needle types vary, check your machine manual and choose the setup recommended for your fabric and stitch choice.
Textured fabrics can hide markings well, but they can also make exact placement harder to see. In those cases, using tailor’s tacks or marking on the wrong side may be more reliable than chalk alone. Always work on scraps first when possible. A small test can show whether a fabric holds a crease, absorbs marker, or responds better to dry pressing than steam.
The most useful habit is to respect the fabric in front of you. A method that works beautifully on one project may be too heavy-handed on another. That is part of the learning curve, and it gets easier with practice.
Building Confidence with Practice
Darts become much less intimidating once you practice them on scraps or leftover fabric. Practicing helps you see how marking, sewing, and pressing all affect the final shape. You can test different markers, stitch lengths, and pressing approaches before working on your actual garment. That kind of practice is one of the best ways to develop confidence without wasting good fabric.
Try sewing a few sample darts in different widths and lengths. Then press them with the same tools you plan to use on the real project. Notice which versions lie flat, which ones create a smooth shape, and which ones feel bulky. This is especially helpful if you are sewing a pattern with multiple darts, because the results can guide you before you commit to the final garment pieces.
As you work, keep your expectations realistic. Even experienced sewists occasionally unpick a dart and sew it again. What matters most is learning to spot problems early and correct them calmly. A neat dart is often the result of several small good habits: careful marking, steady stitching, and patient pressing.
With a little repetition, the process becomes natural. You will begin to see how a dart changes the silhouette before it is even sewn. That is when the technique starts to feel less like a rule and more like a useful tool you can trust.