Why Cleaning and Oiling Matters
Regular cleaning helps your machine stitch more smoothly, reduces skipped stitches and noise, and keeps lint from interfering with moving parts. Oiling, when your manual calls for it, supports the machine’s moving mechanisms and helps limit wear. Together, these steps can extend your machine’s life and keep it running reliably. Because models vary, always follow the manufacturer’s instructions for both cleaning and oiling before you begin.
Know Your Machine Before You Begin
Before you clean or oil anything, check your machine’s manual. Every model is different, and the manual shows where cleaning is allowed, which parts should stay untouched, and whether your machine needs oil at all. Some modern machines are self-lubricating and should not be oiled. If your manual includes a maintenance schedule, follow it. If it recommends a specific oil, use only that type. Taking a minute to confirm the right steps helps protect your machine and prevents damage from guesswork.
Simple Tools for Routine Care
You do not need a large toolkit for basic machine care. A few gentle, purpose-friendly tools are usually enough for cleaning and oiling your machine like a pro. The goal is to remove lint and dust without scratching surfaces or pushing debris deeper into the machine.
- A small lint brush or soft cleaning brush
- A clean, dry, soft cloth
- Thread snips or small scissors for trimming loose threads
- The machine oil recommended by your manual, if your machine uses oil
- A screwdriver only if your manual says it is okay to remove a cover or plate
It can also be helpful to keep a small tray or bowl nearby for screws, so they do not roll away if you remove a part allowed by the manual. Avoid compressed air unless your manufacturer specifically approves it; blowing lint deeper into the machine can create more problems than it solves. Likewise, do not use household oils, cooking oils, or sprays that are not meant for sewing machines.
If you are shopping for supplies, choose items that match the maintenance instructions for your model rather than the most general or flashy option. Safe, simple tools are usually the best fit for routine upkeep. If an accessory seems useful but is not mentioned in your manual, treat that as a sign to pause and verify before using it.
Clean the Outer Machine and Work Area
Start with the easy wins. Before opening any covers, unplug the machine and clear away fabric scraps, thread tails, and dust from the exterior. Wipe the outside with a dry, soft cloth. If your manual permits a slightly damp cloth for certain surfaces, use it sparingly and keep moisture away from openings, controls, and electrical parts.
Cleaning the work area matters too. Lint and stray threads around your machine can get pulled into moving parts or onto your fabric. Check the table, extension bed, and surrounding surface for buildup. A tidy workspace supports a tidier machine, especially if you sew often or work with fabrics that shed a lot, such as fleece, flannel, or batting.
It is also smart to trim thread tails before they get tangled near the needle area. Long loose threads can collect lint quickly. If you have been sewing a project with a lot of thread color changes, give the machine a quick surface wipe between sessions. A few minutes of attention now can help prevent a bigger cleaning job later.
This is also a good moment to notice obvious signs of buildup around the machine body, such as fuzzy edges near the thread path or dust settling around the spool area. Catching that surface debris early makes the deeper cleaning steps faster and less frustrating.
Remove Lint from the Bobbin and Feed Area
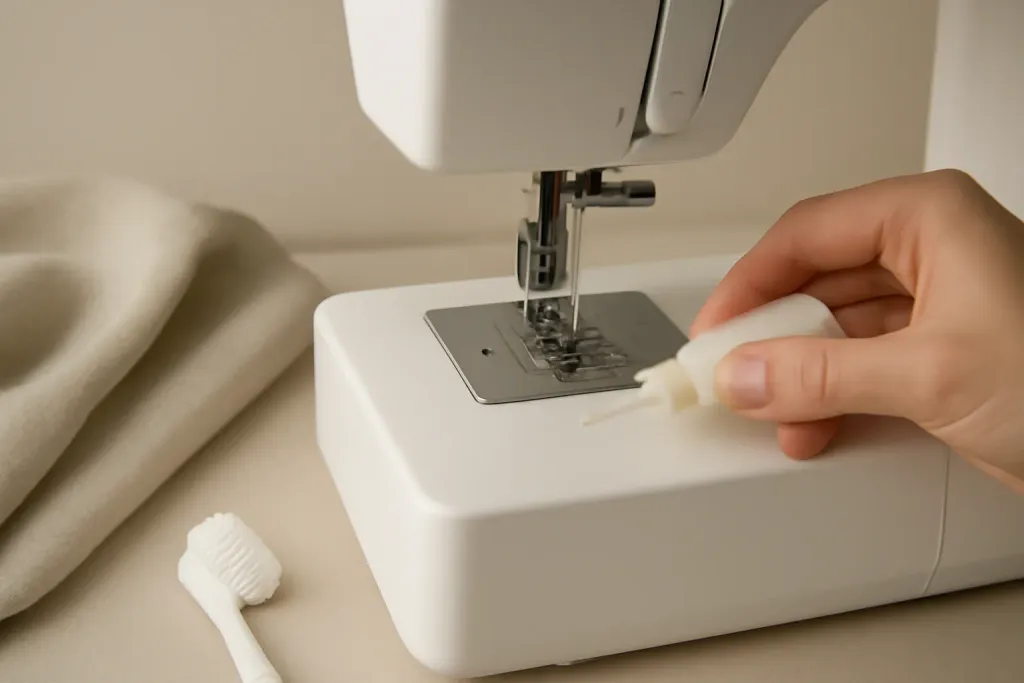
Unplug the machine before you start. Open the bobbin area, remove the bobbin case if your model allows it, and lift out loose lint with a small brush, tweezers, or a vacuum designed for sewing machines. Clean the feed dogs, stitch plate edges, and nearby corners where fluff builds up. If your manual says a cover or plate should be removed, follow those steps only. Avoid compressed air, which can push debris deeper inside. When the area is clean, reinstall each part carefully and make sure it sits correctly before sewing again.
Browse our recommended products
Our featured picks refresh periodically. While we update them, our editorial guides can help you find the right pick.
See our guidesOil Only Where Your Manual Says
Oiling is not a one-size-fits-all step. Some machines need regular oiling at specific points, while others are designed to stay dry for user maintenance. That is why the manual matters so much. If your machine is one that should be oiled, use only the approved sewing machine oil and apply only the amount recommended. A little usually goes a long way.
Before adding oil, make sure the machine is unplugged and clean. Oil works best when it is not mixed with lint. Apply oil only to the points identified by the manufacturer, often around the hook area or other designated moving parts. Do not oil belts, motors, wiring, computer screens, or any area not clearly marked for lubrication. Those parts are not part of normal user maintenance.
After oiling, place a piece of scrap fabric under the presser foot and stitch slowly for a few seconds if your manual recommends it. This helps distribute the oil. Then check the fabric for any excess oil marks. If you see any, keep stitching on scrap until the residue is gone. The key is precision, not extra oil. More is not better when it comes to machine lubrication.
When a machine has been stored for a while, a careful cleaning should come before any oiling step. Old lint and dust can cling to the exact places where oil needs to work. Cleaning first gives the oil a better chance to do its job without trapping debris in place.
Create a Realistic Maintenance Routine
The easiest maintenance plan is the one you can actually keep. You do not need a complicated schedule to care for your machine well. A simple routine based on how often you sew is usually enough. For example, if you sew daily, you may need to check lint more often than someone who uses the machine only occasionally. Heavy lint-producing fabrics also call for more frequent cleaning.
A helpful habit is to give the machine a quick clean after projects that create lots of debris, such as fleece, flannel, or quilting layers. Then do a more careful cleaning at regular intervals recommended by the manual. If your machine uses oil, note when you last applied it so you are not guessing later. A small notebook or note on your phone can be enough to track maintenance.
Consistency matters more than perfection. Even a short cleaning session can make a difference if you do it regularly. If you are unsure whether your machine needs cleaning or oiling, stop and check the manual before continuing. That simple pause can prevent unnecessary wear and keep your care routine safe and effective.
Some sewists like to connect maintenance with another routine, such as changing needles or finishing a project. That can make upkeep feel less like a chore and more like part of the sewing process. The goal is not to do everything at once, but to make care feel manageable enough that you will actually repeat it.
Troubleshoot Gently and Know When to Stop
Sometimes maintenance reveals a problem, and that is useful information. If the machine still sounds rough after a standard cleaning, or if a part does not move as expected, do not try to force it. Avoid taking the machine apart beyond what the manual allows. User care should stay within safe, routine boundaries.
Common signs that your machine may need a closer look within normal maintenance include visible lint buildup, thread snags, oily residue where it should not be, or a bobbin area that is harder to access than usual. In those cases, clean only what your manual covers and repeat the correct setup steps carefully. Make sure the needle, bobbin, and presser foot are installed correctly if your machine requires those checks during routine care.
If the issue continues after proper cleaning and approved oiling, the safest next step is to pause and consult the manufacturer’s guidance or an authorized service resource. Do not attempt internal electrical repair or unsafe fixes. Good maintenance is about prevention and simple care, not pushing past the limits of what you are trained and allowed to do.
It can be tempting to keep testing the machine in hopes that the problem disappears on its own, but that approach can make a small issue worse. Stop, reset, and return to the manual. If the machine still does not behave normally after the correct maintenance steps, set it aside until you can get trustworthy help.
Finish With Confidence
Cleaning and oiling your machine like a pro does not require special training, only a careful routine and a willingness to follow the manual. Once you learn where lint gathers, which parts are safe to open, and whether your machine even needs oil, the process becomes much less intimidating. You are protecting your machine one small step at a time.
The best results usually come from doing a little maintenance regularly instead of waiting until the machine is struggling. A clean exterior, a lint-free bobbin area, and the correct oil in the right place can help your machine feel steadier on everyday projects. That consistency supports smoother stitching and a more relaxed sewing session overall.
Keep your manual close, use gentle tools, and stay within the maintenance steps your model allows. If something feels unclear, pause and check before you act. With that mindset, routine care becomes a simple part of sewing life rather than a stressful extra task. And when your machine is cared for properly, you can spend more time enjoying the projects you actually want to make.
If you want to build a simple maintenance habit, start with one check after your next project: unplug, brush out lint, review whether your model needs oil, and return everything to its proper place. That small reset is often all it takes to keep your machine ready for the next stitch.
],