Why stitch length matters on denim
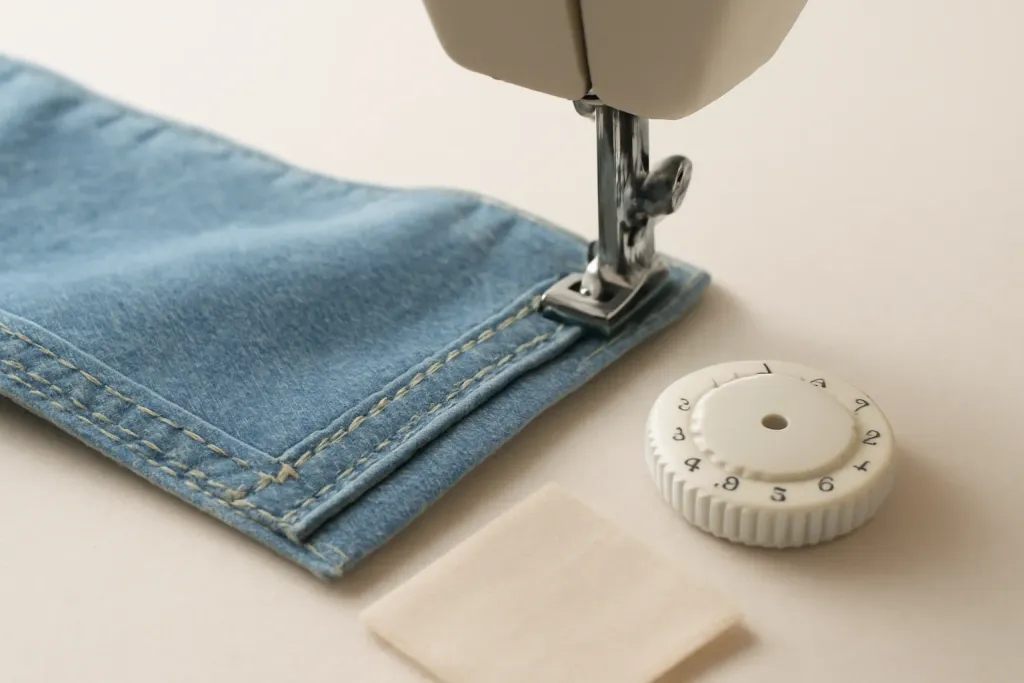
Choosing stitch lengths for topstitching denim can change the whole look of a project. Denim is thick, structured, and often stitched in places people notice first: pocket edges, waistbands, hems, seams, and belt loops. A stitch that is too short can look crowded and heavy. A stitch that is too long can look loose or uneven, especially on curves and corners.
For most sewists, the goal is simple: create a line of stitching that looks intentional, stays secure, and suits the weight of the denim. Topstitching is both decorative and functional, so the stitch length needs to balance appearance and strength. That balance shifts depending on the denim weight, thread thickness, needle size, and even the exact topstitching location.
It helps to remember that denim is not one single fabric. Lightweight chambray-style denim, classic midweight denim, and heavyweight denim all behave differently. Your machine may also feed each layer in a slightly different way. Always check your machine manual for recommended settings, presser feet, and thread compatibility before you begin.
A simple starting range for topstitching
If you are just getting started, a common starting point for topstitching denim is around 3.0 mm to 4.0 mm. Many sewists like the look of a longer stitch on denim because it reads clearly from the outside and helps the topstitching stand out. For visible seams, hems, and pocket edges, this range usually gives a crisp, classic finish without looking overly dense.
That said, there is no single correct length for every denim project. A 3.0 mm stitch can be a nice choice for lighter denim or areas where you want a slightly subtler effect. A 3.5 mm or 4.0 mm stitch often works well on medium denim when you want the stitches to appear more like traditional jeans construction. Very heavy denim may handle a longer stitch beautifully, especially if you are using thicker topstitching thread.
Think of the starting range as a testing zone rather than a rule. Make a sample on your actual denim layers before sewing the final garment or project. The sample will show you how the stitches sit, how the thread fills the holes, and whether the line looks balanced from both the right side and the wrong side.
Match stitch length to denim weight
One of the easiest ways to narrow down choosing stitch lengths for topstitching denim is to consider fabric weight. Lightweight denim usually looks best with a shorter end of the topstitching range because very long stitches can seem too sparse. Midweight denim can handle a medium-long stitch that gives clear definition. Heavyweight denim often benefits from a longer stitch because dense, short stitches can make the seam look stiff and overly crowded.
For lightweight denim, try a stitch length near 3.0 mm and see whether the seam line looks clean and proportionate. For midweight denim, 3.0 mm to 3.5 mm is often a dependable starting point. For heavyweight denim, 3.5 mm to 4.0 mm or even slightly longer may create the bold look many people expect from jeans-style topstitching, especially on flat seams and top-stitched hems.
Layer count matters too. A single layer of denim may accept a different stitch length than a hem turned twice or a waistband with interfacing. Thick layers can change the visual scale of the stitch, so keep your test sample close to the exact construction you plan to sew. If your machine struggles to form even stitches across bulky seams, consult the manual for guidance on presser foot pressure, feed options, and suitable needles.
Let thread and needle guide the length
Topstitching thread is usually heavier than regular sewing thread, and that alone can influence the best stitch length. Thicker thread fills the stitch line more quickly, so you often need a slightly longer stitch to keep the topstitching looking smooth instead of packed together. If you use regular thread for a more subtle effect, a slightly shorter stitch can still look neat because the line is visually finer.
Needle size also affects the result. A needle that is too small for the thread can create tension issues, skipped stitches, or a rough-looking line. A needle that suits your thread and fabric generally makes it easier to achieve even stitches, which can let you stay within a comfortable length range. Many sewists test a couple of combinations before settling on the final setting.
The key is to think of stitch length as part of a system. Fabric, thread, needle, and machine settings all work together. If the stitches seem buried in the fabric, consider a slightly longer length or a more visible thread. If the stitches look too open, try shortening them a touch. Always follow your machine manual for approved needles and threading paths, and do not attempt internal machine repairs if you notice tension or timing problems.
Browse our recommended products
Our featured picks refresh periodically. While we update them, our editorial guides can help you find the right pick.
See our guidesWhen to use shorter or longer stitches
Different parts of a denim project may call for different stitch lengths. Topstitching on long straight seams often looks best with a slightly longer stitch because the eye can follow the line easily. Around tight curves, such as pocket corners or shaped yokes, a slightly shorter stitch may help the seam look controlled and accurate. The difference can be subtle, but it often improves the overall finish.
You might choose a shorter end of the range when:
- You are topstitching narrow edges or detailed shaping.
- You want the line to blend a bit more into lighter denim.
- You are stitching over areas where many layers overlap and you need extra control.
You might choose a longer end of the range when:
- You want the stitches to stand out like classic jeans topstitching.
- You are sewing on medium to heavyweight denim.
- You are working on long hems, flat-felled seams, or visible decorative lines.
If you are unsure, start in the middle of your range and adjust after a test pass. A small change of 0.5 mm can be enough to improve the look without changing your whole setup.
How to test stitch length before you sew
Testing is the safest and most reassuring way to settle on a stitch length. Cut a sample using the same denim, interfacing, thread, and number of layers you plan to use in the final project. If possible, include a seam, a corner, and a bulky area so you can see how the topstitching behaves in different places.
Sew a few lines at different settings, such as 3.0 mm, 3.5 mm, and 4.0 mm. Look at the stitch line in daylight or strong indoor light. Ask yourself a few simple questions: Does the stitching look balanced? Does the thread sit well on the surface? Does the line feel too tight, too loose, or just right for the scale of the denim?
It is also helpful to check the reverse side. On the back, uneven tension or dense stitching may show more clearly. If the machine does not like the combination you chose, consult the manual and adjust within the manufacturer’s recommendations. Small testing rounds can save a lot of frustration later and help you sew with more confidence.
Common mistakes to avoid
When people are learning choosing stitch lengths for topstitching denim, a few common mistakes come up again and again. The first is using one stitch length for every part of the project without testing. Denim seams can change thickness dramatically, so a setting that looks great on one section may not be ideal on another.
Another mistake is making the stitch too short because the sewer wants more security. On denim, very short topstitching can look busy and may even make bulky seams feel more rigid than necessary. Topstitching should usually be visible and smooth, not overpacked. A slightly longer stitch is often both attractive and practical.
A third mistake is ignoring the effect of thread and needle. If the thread is heavy, a short stitch can look cramped. If the needle is mismatched, the stitch line can become uneven no matter what length you choose. Finally, do not assume that settings from one machine will work perfectly on another. Machines and fabrics vary by model and manufacturer, so always test on your own setup and follow your manual.
A practical, confidence-building approach
If you want a simple way to approach denim topstitching, begin with the project’s purpose. Ask whether the stitching should look bold and classic or a little softer and more understated. Then consider the denim weight, the thread size, and the number of layers. From there, choose a starting stitch length in the middle of the likely range and test it on scraps.
For many beginners, this approach removes a lot of guesswork. You are not trying to memorize one perfect number. You are learning how the stitch line behaves on your machine and your fabric. That skill becomes especially useful as you move from one denim project to another, because each one may call for a slightly different result.
If your sample looks good, trust it. If it does not, adjust in small steps and test again. The best topstitching is usually the result of a few calm, deliberate choices rather than a single magic setting. With practice, choosing stitch lengths for topstitching denim becomes much less intimidating and much more intuitive.